Ways to Add Calligraphy Details to Your Wedding
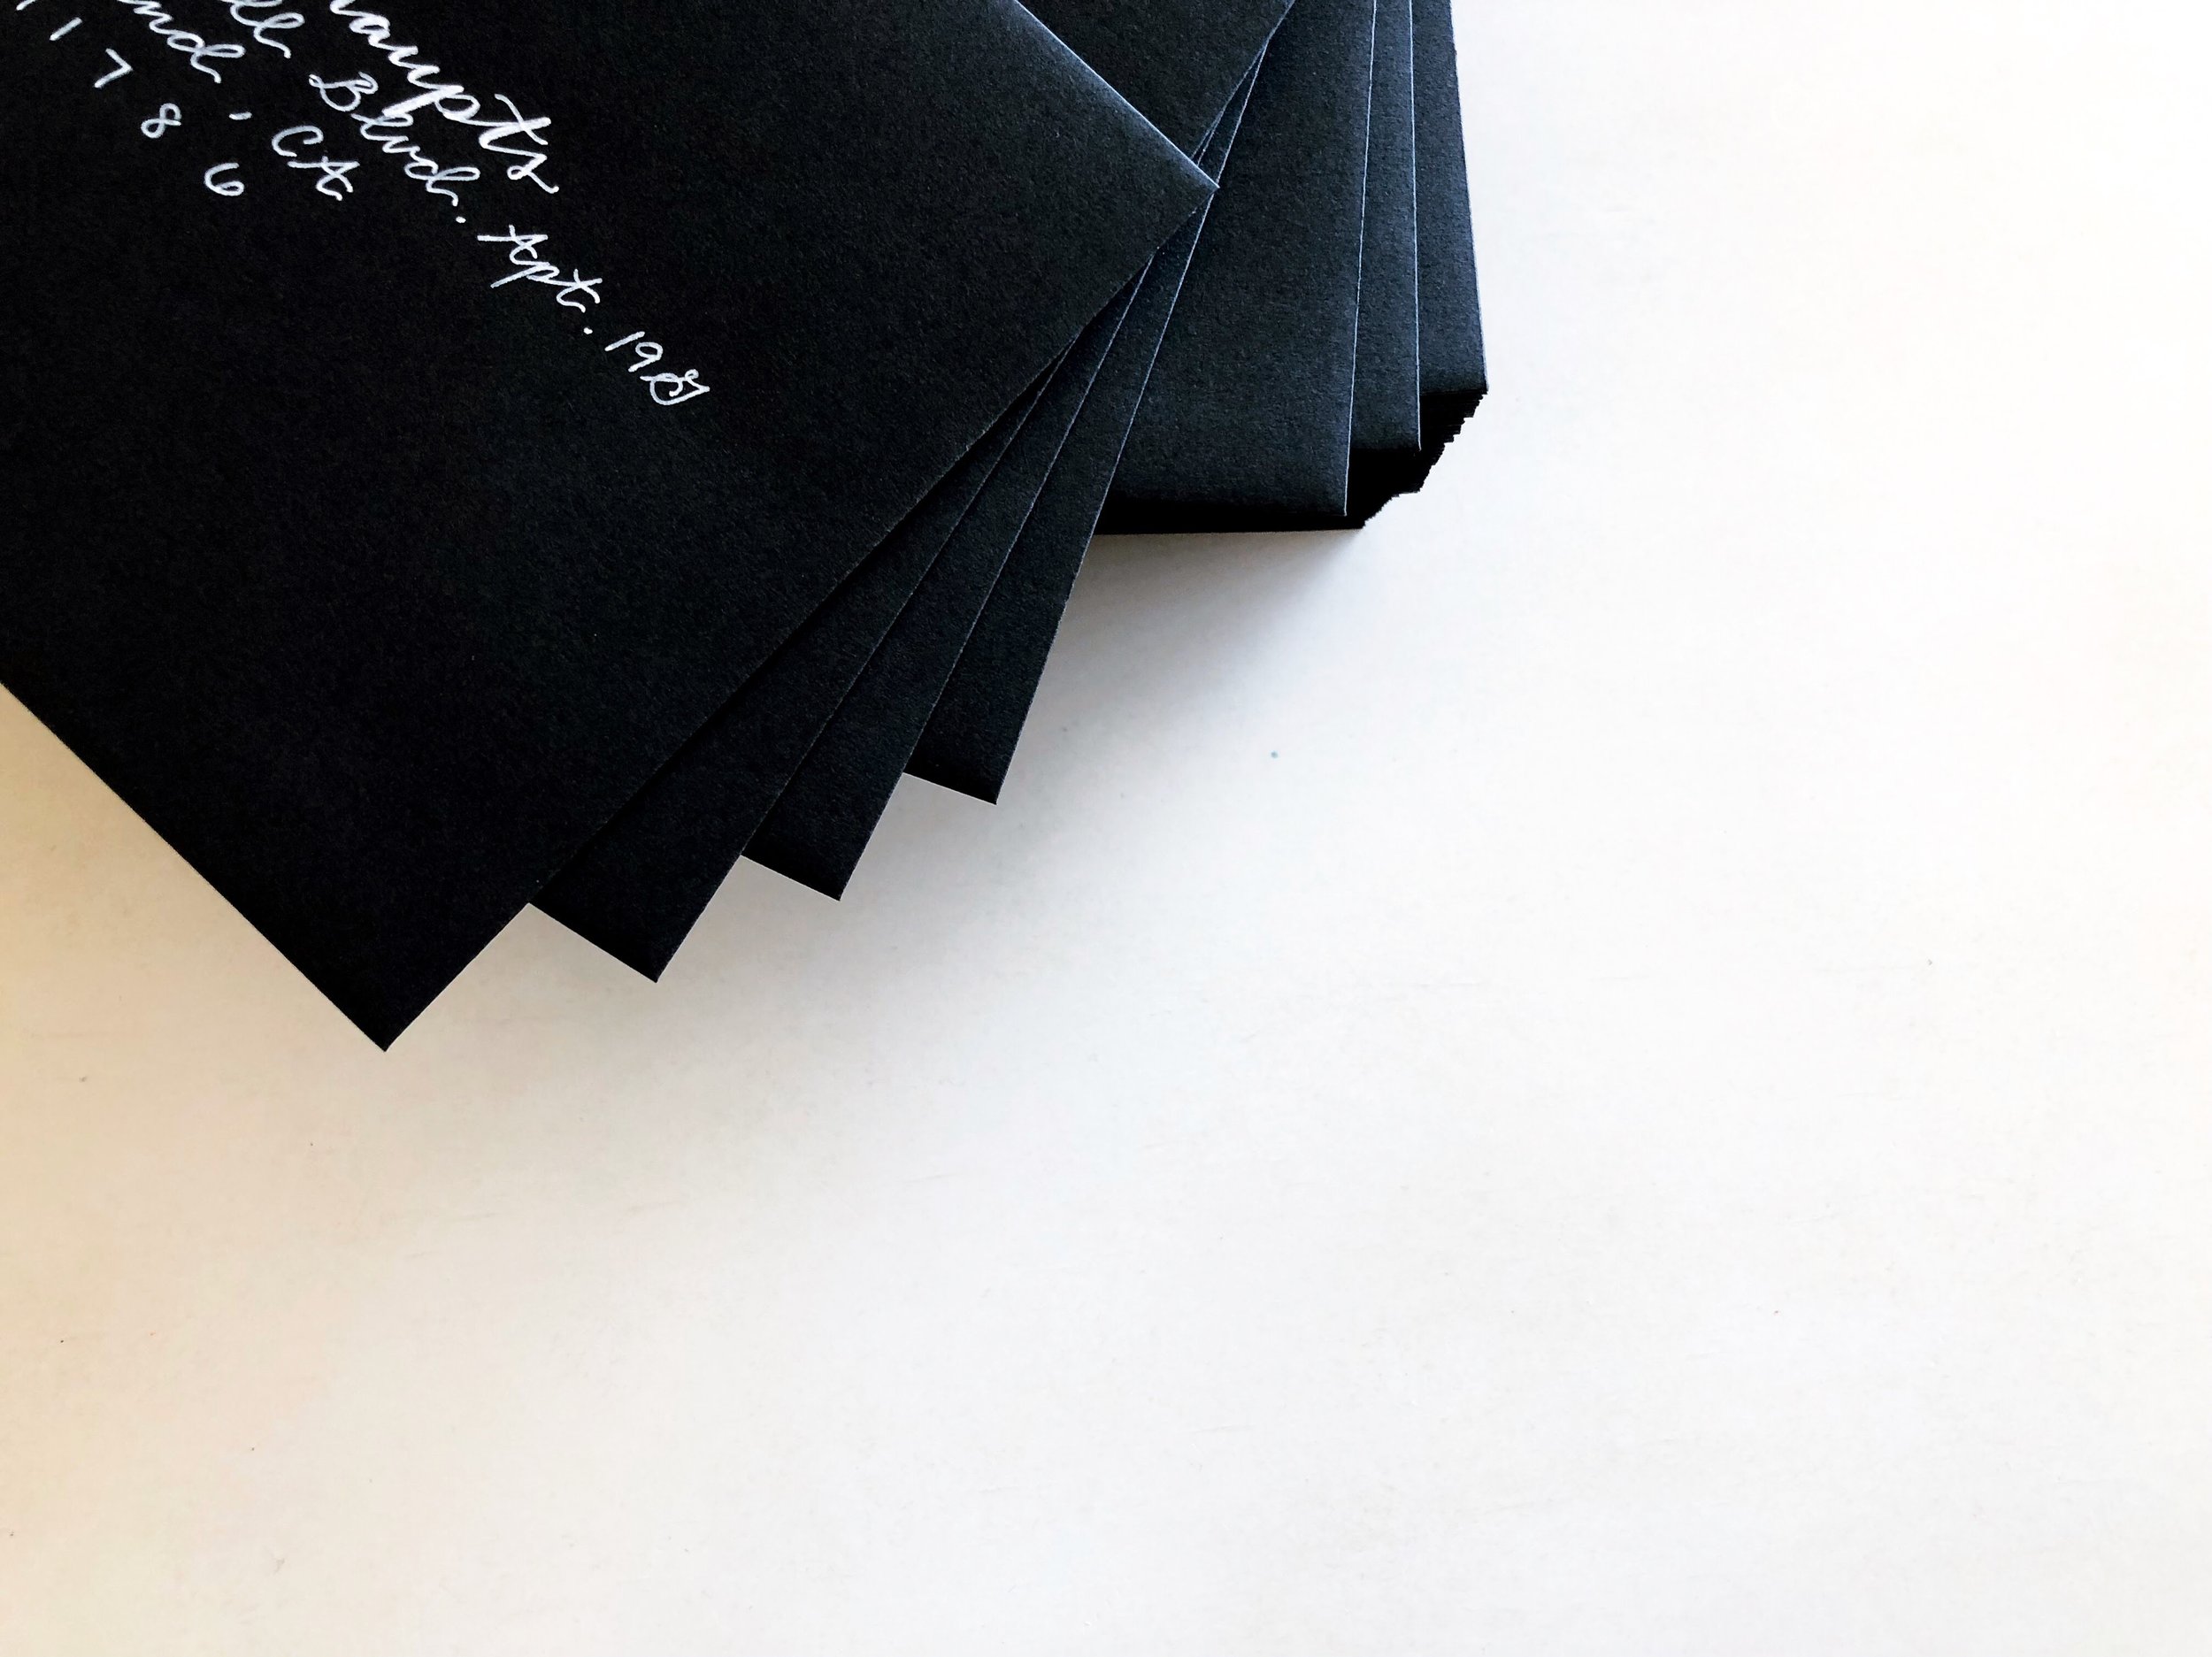
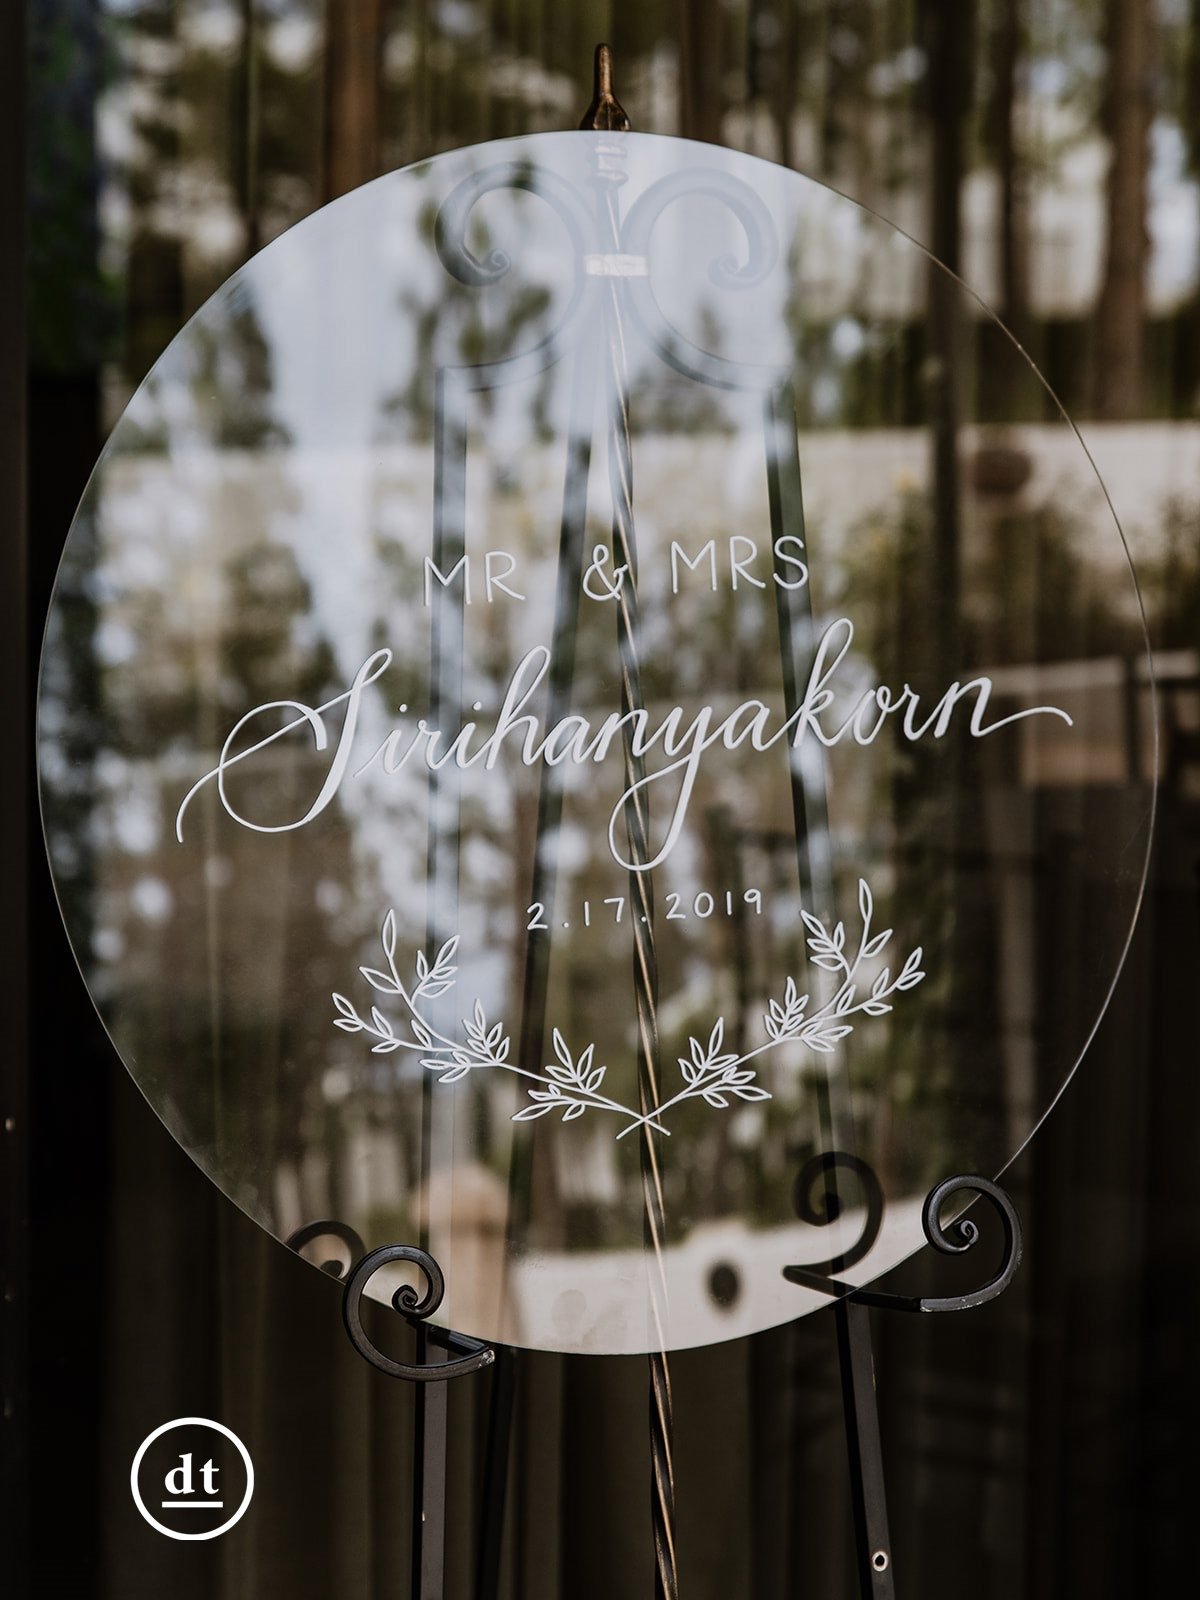
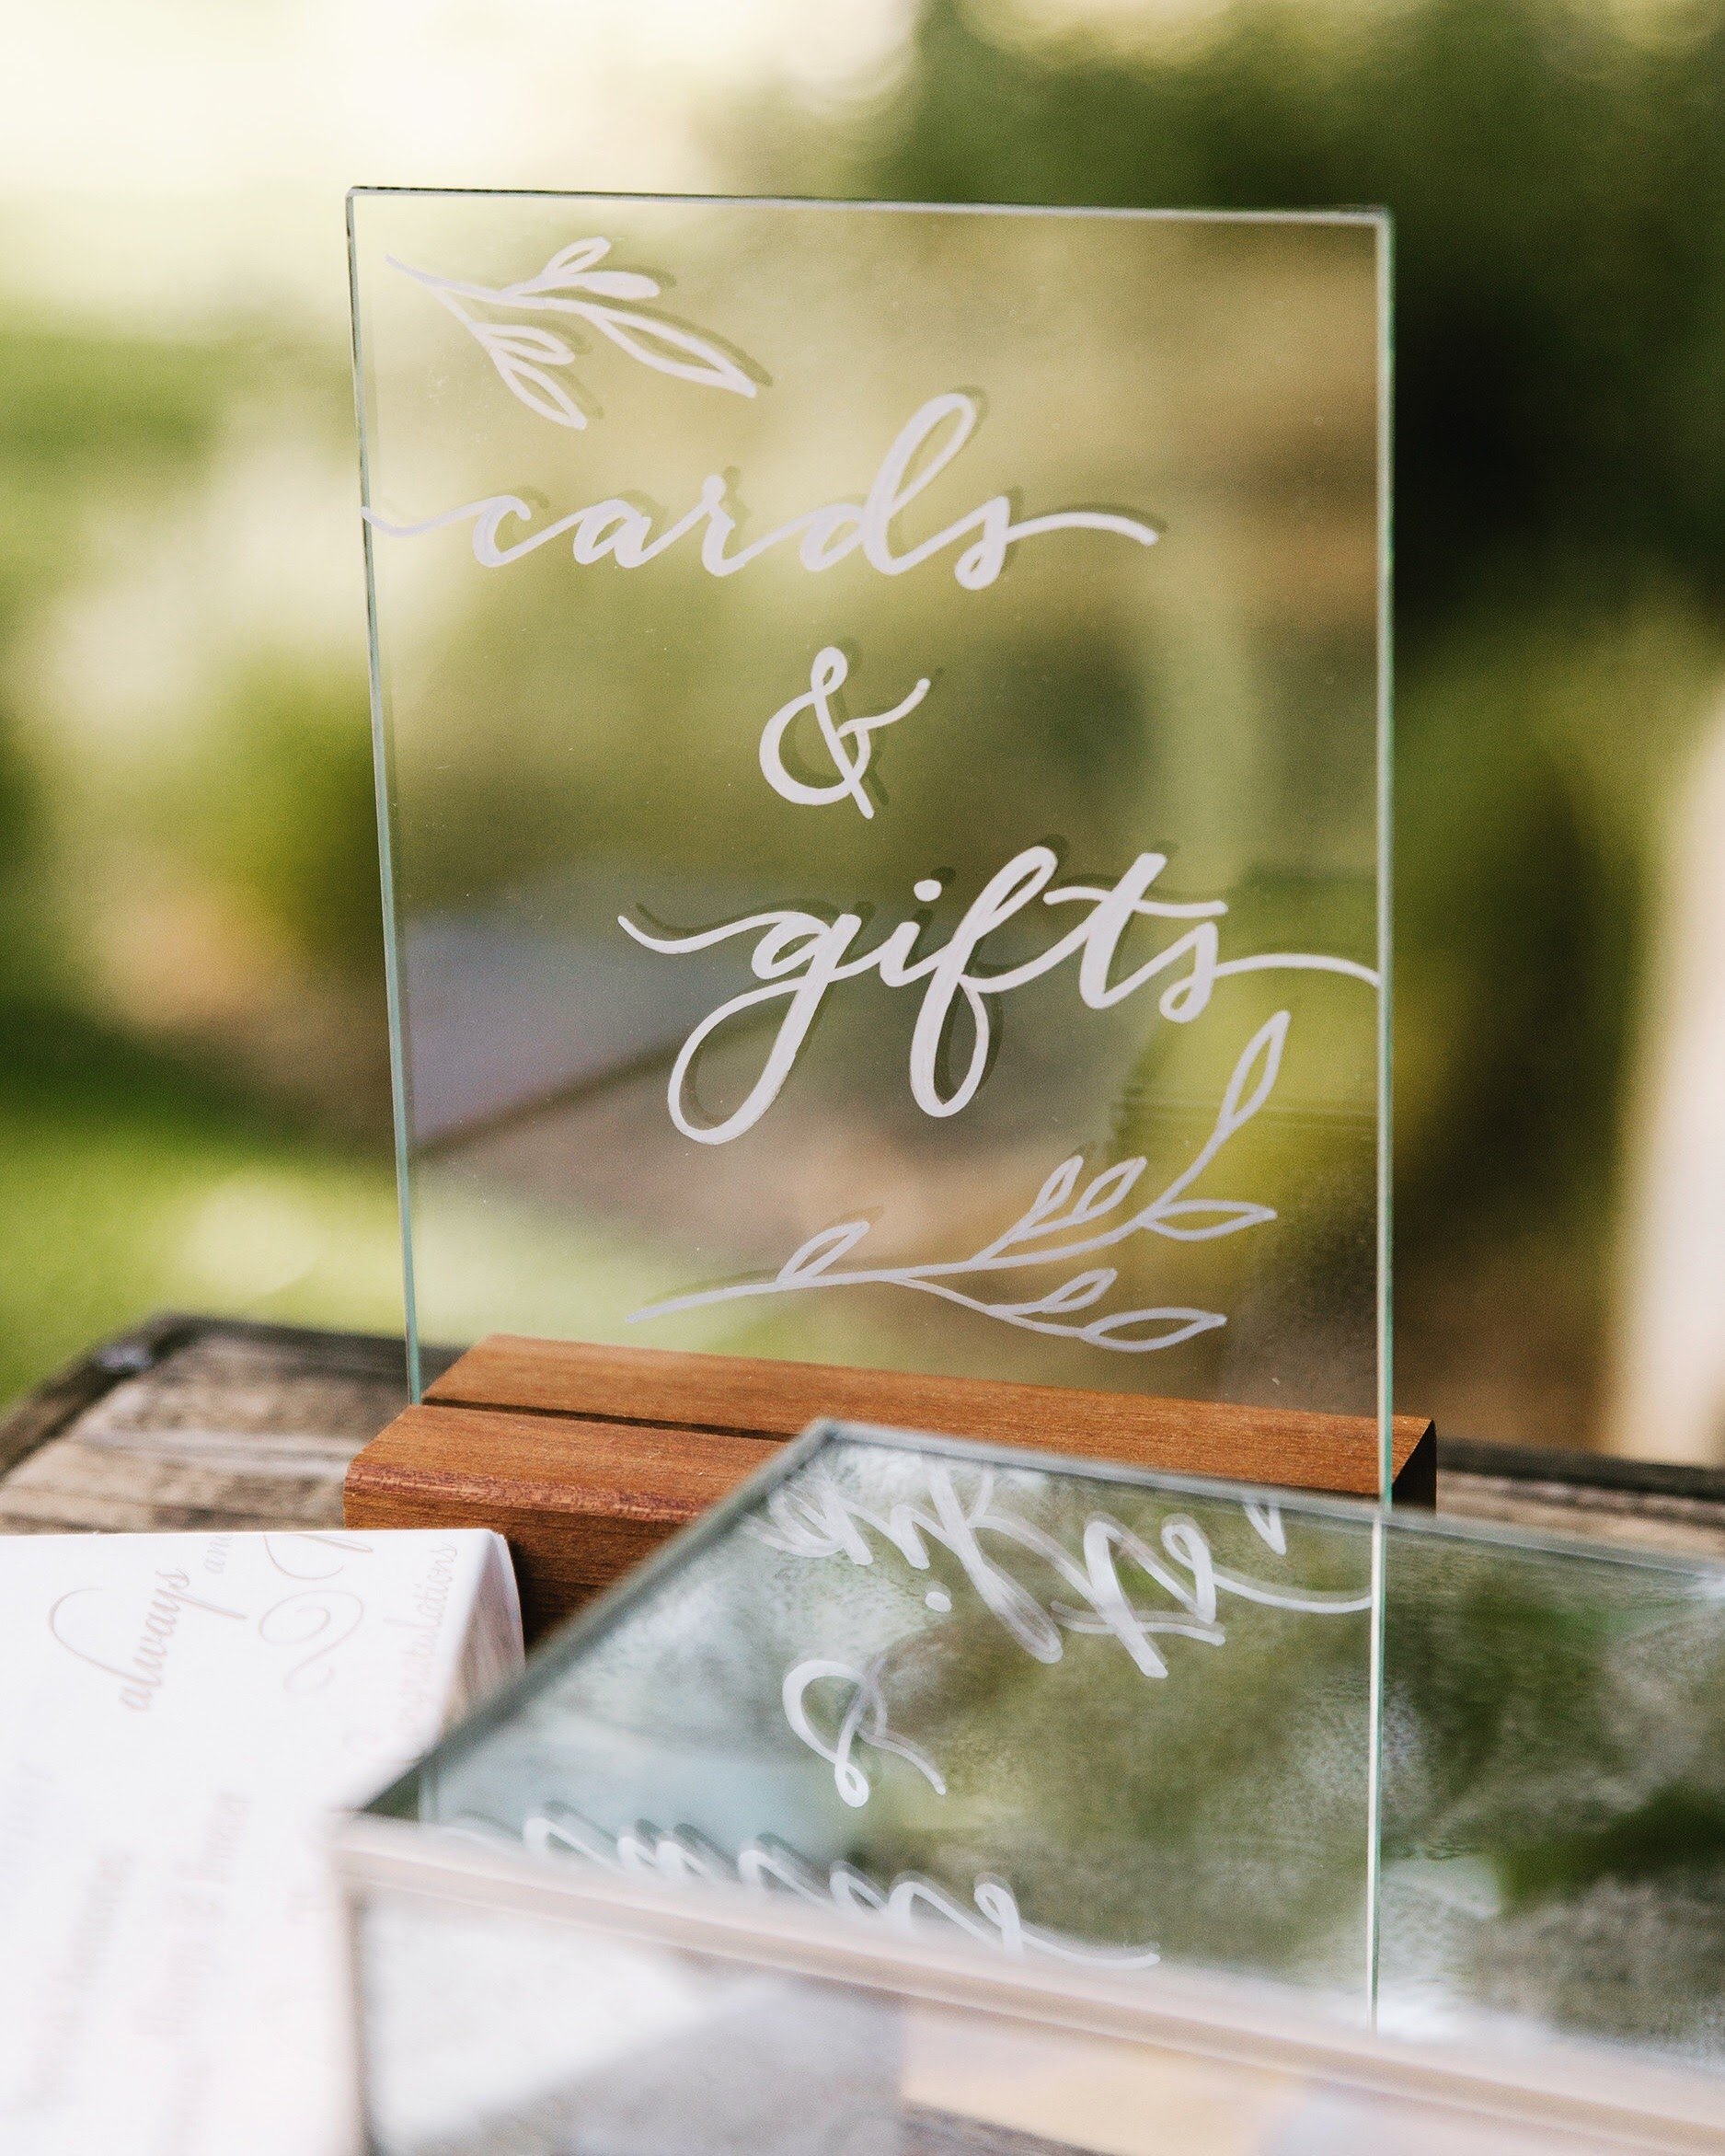
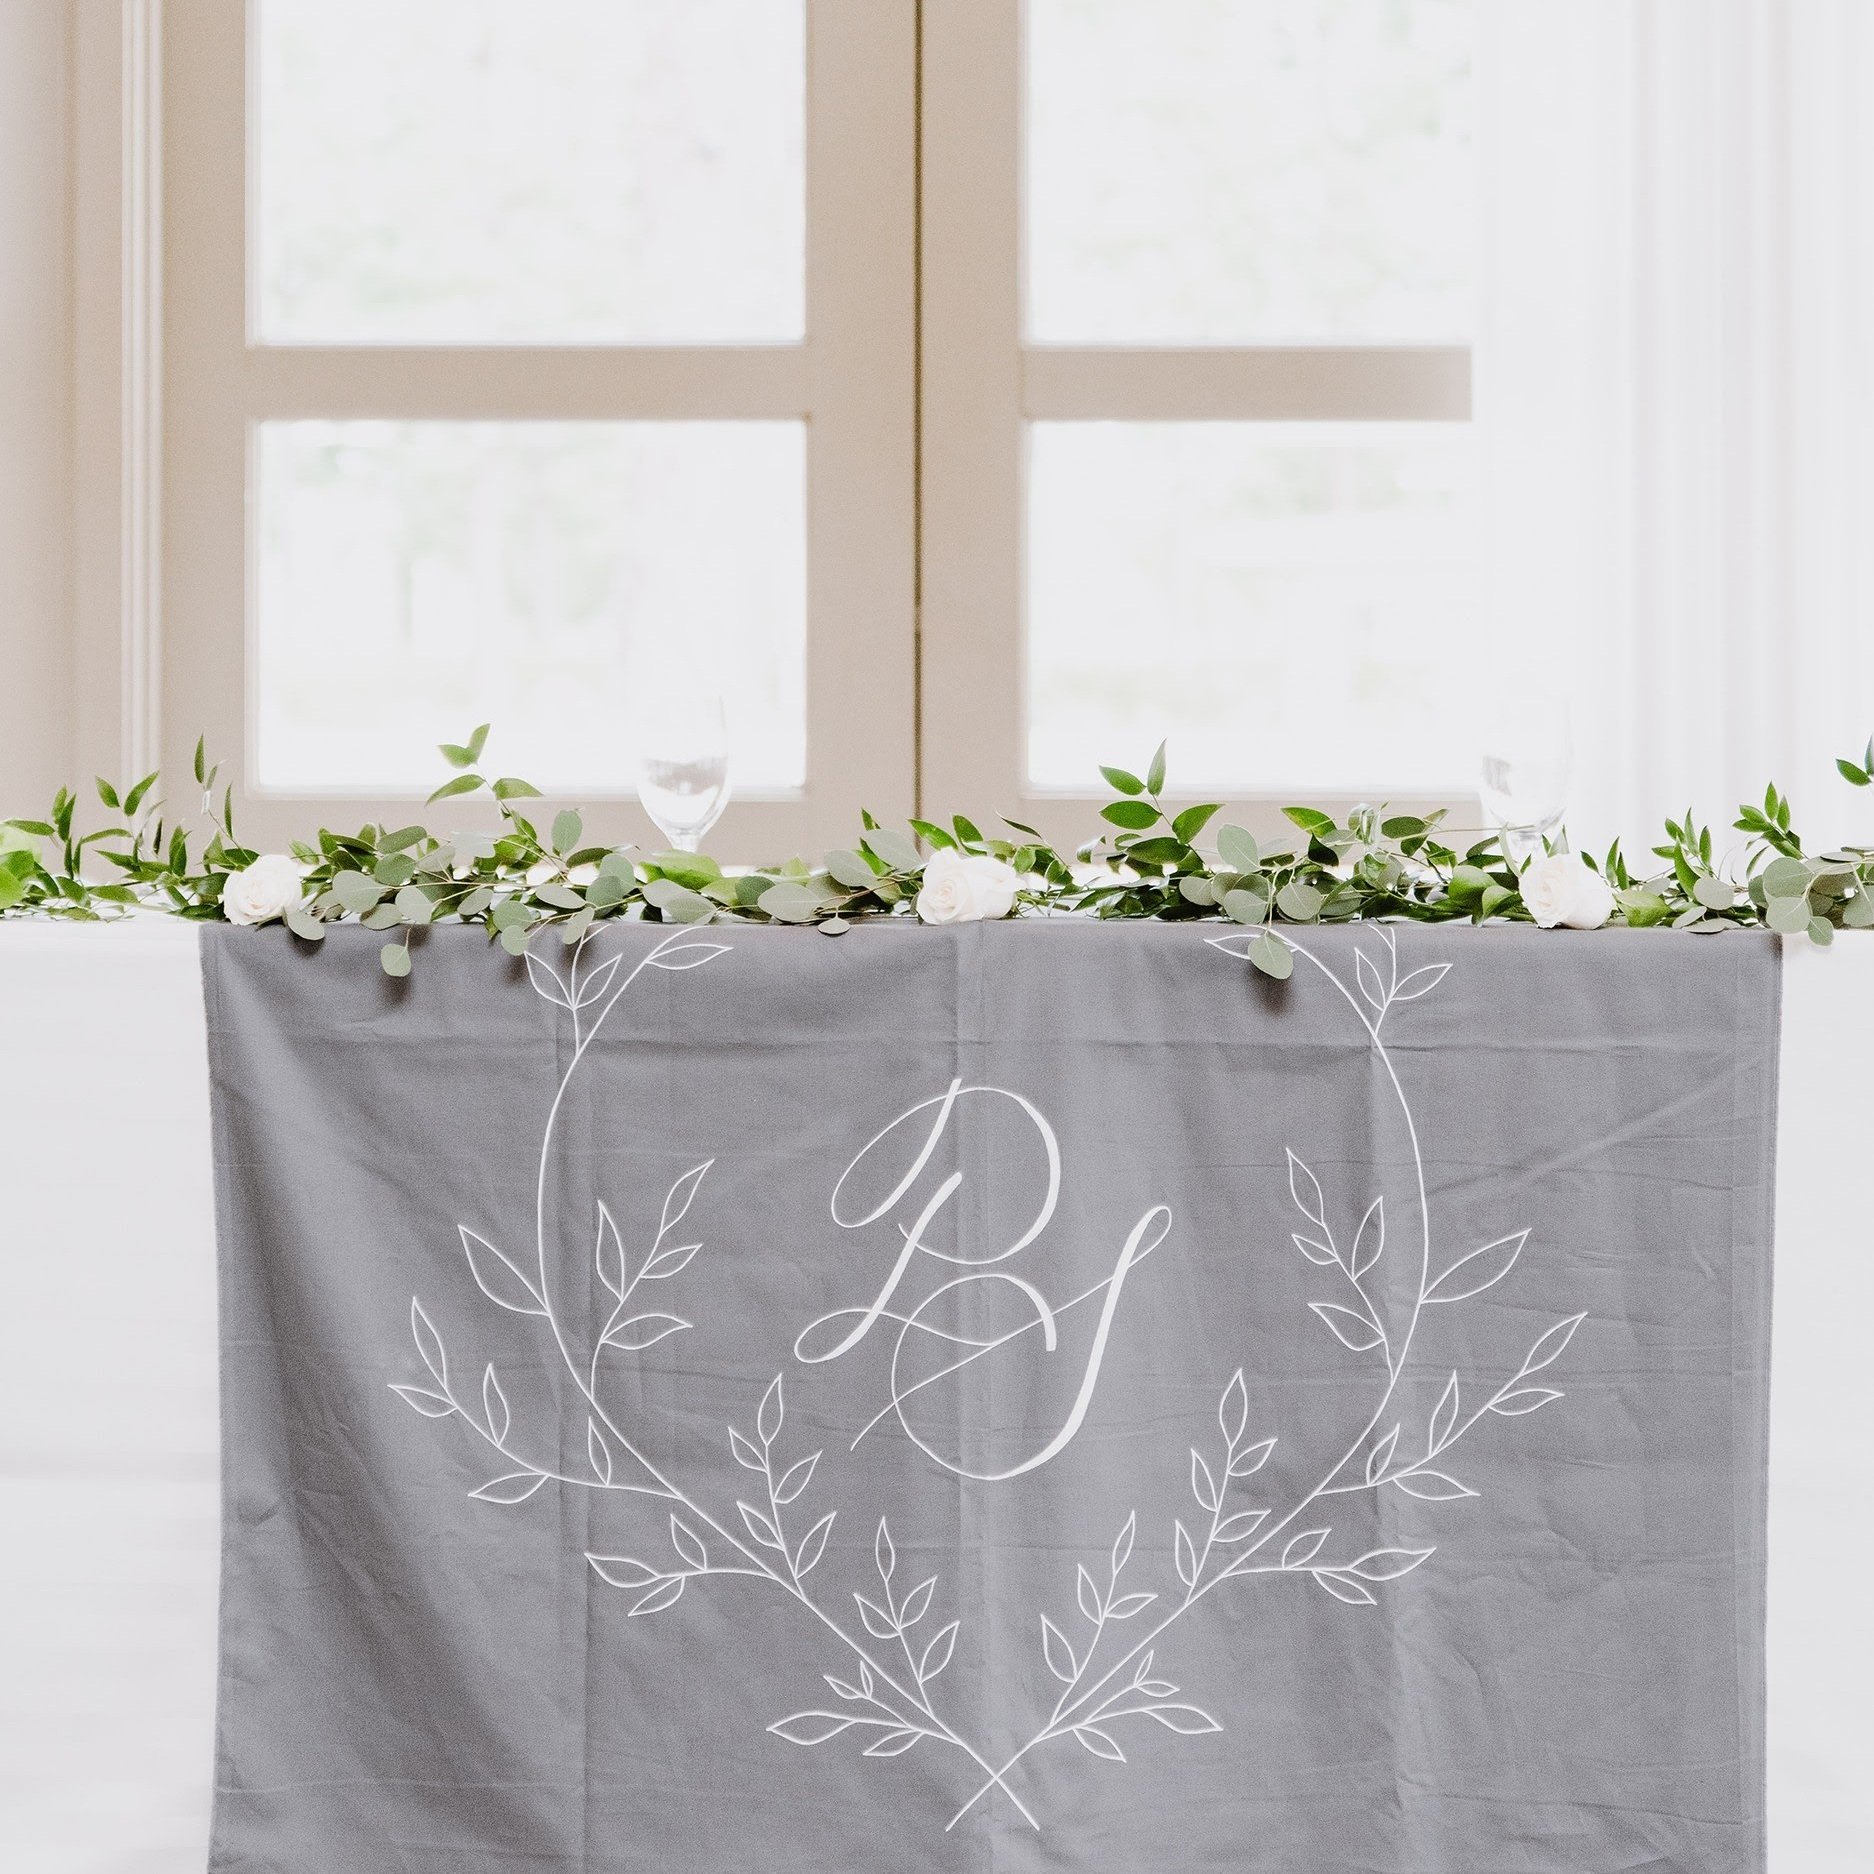
Let’s be real. There are quite a few wedding details and it’s easy to overlook some. Invitations, seating, signs, programs, etc. People want their guests to be able to have clear direction on what events are taking place and be able to celebrate together. But we certainly don’t want these things to be overwhelming! This is why incorporating signs, programs, etc. can be so helpful both for you and your guests. Calligraphy is a great way to add that pretty touch to your wedding day and can be displayed in various ways! Get creative with it; you can incorporate calligraphy on a variety of surfaces beyond just paper such as glass, acrylic, mirrors, wood, and linens.
Here is a list of areas you can tie in some elegant calligraphy at your wedding:
Wedding Invitations + Envelope Addressing
Save the Dates
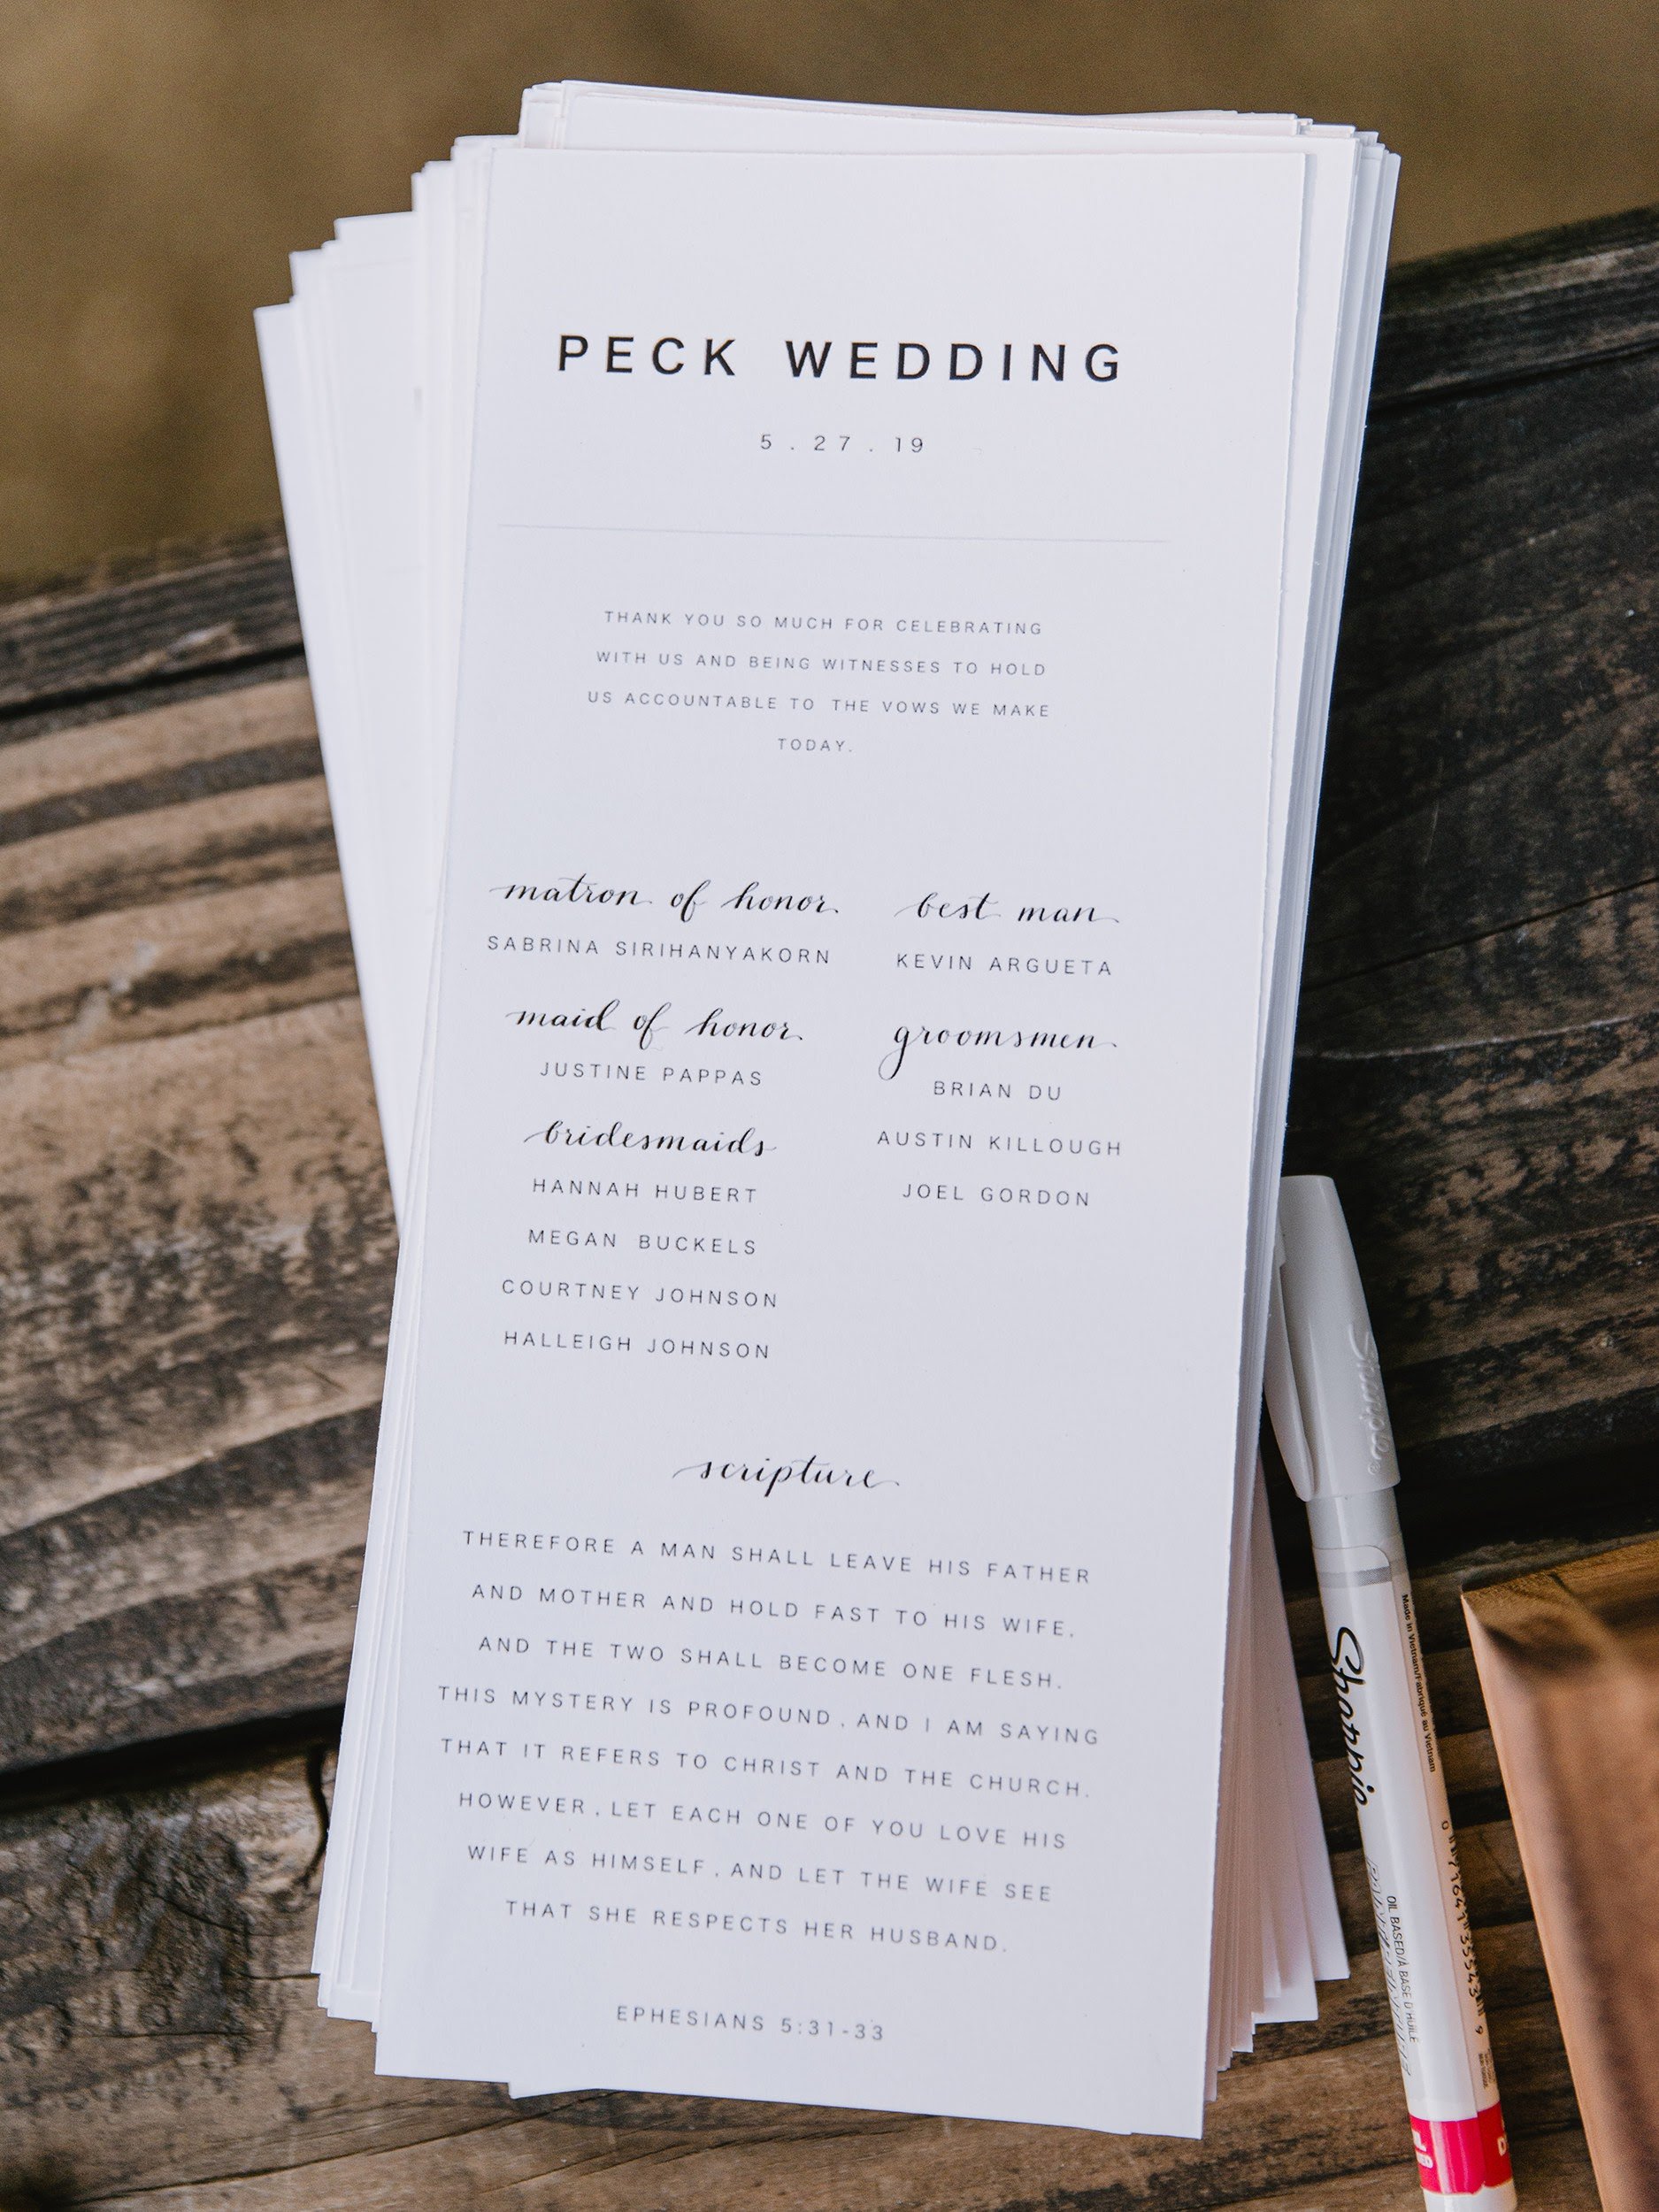
Wedding Ceremony Programs
Cards for your bridesmaids and groomsmen
Letters to your bride/groom, family members, etc.
Vows (can also be done post-wedding to frame in your home)
Welcome sign at your venue entrance
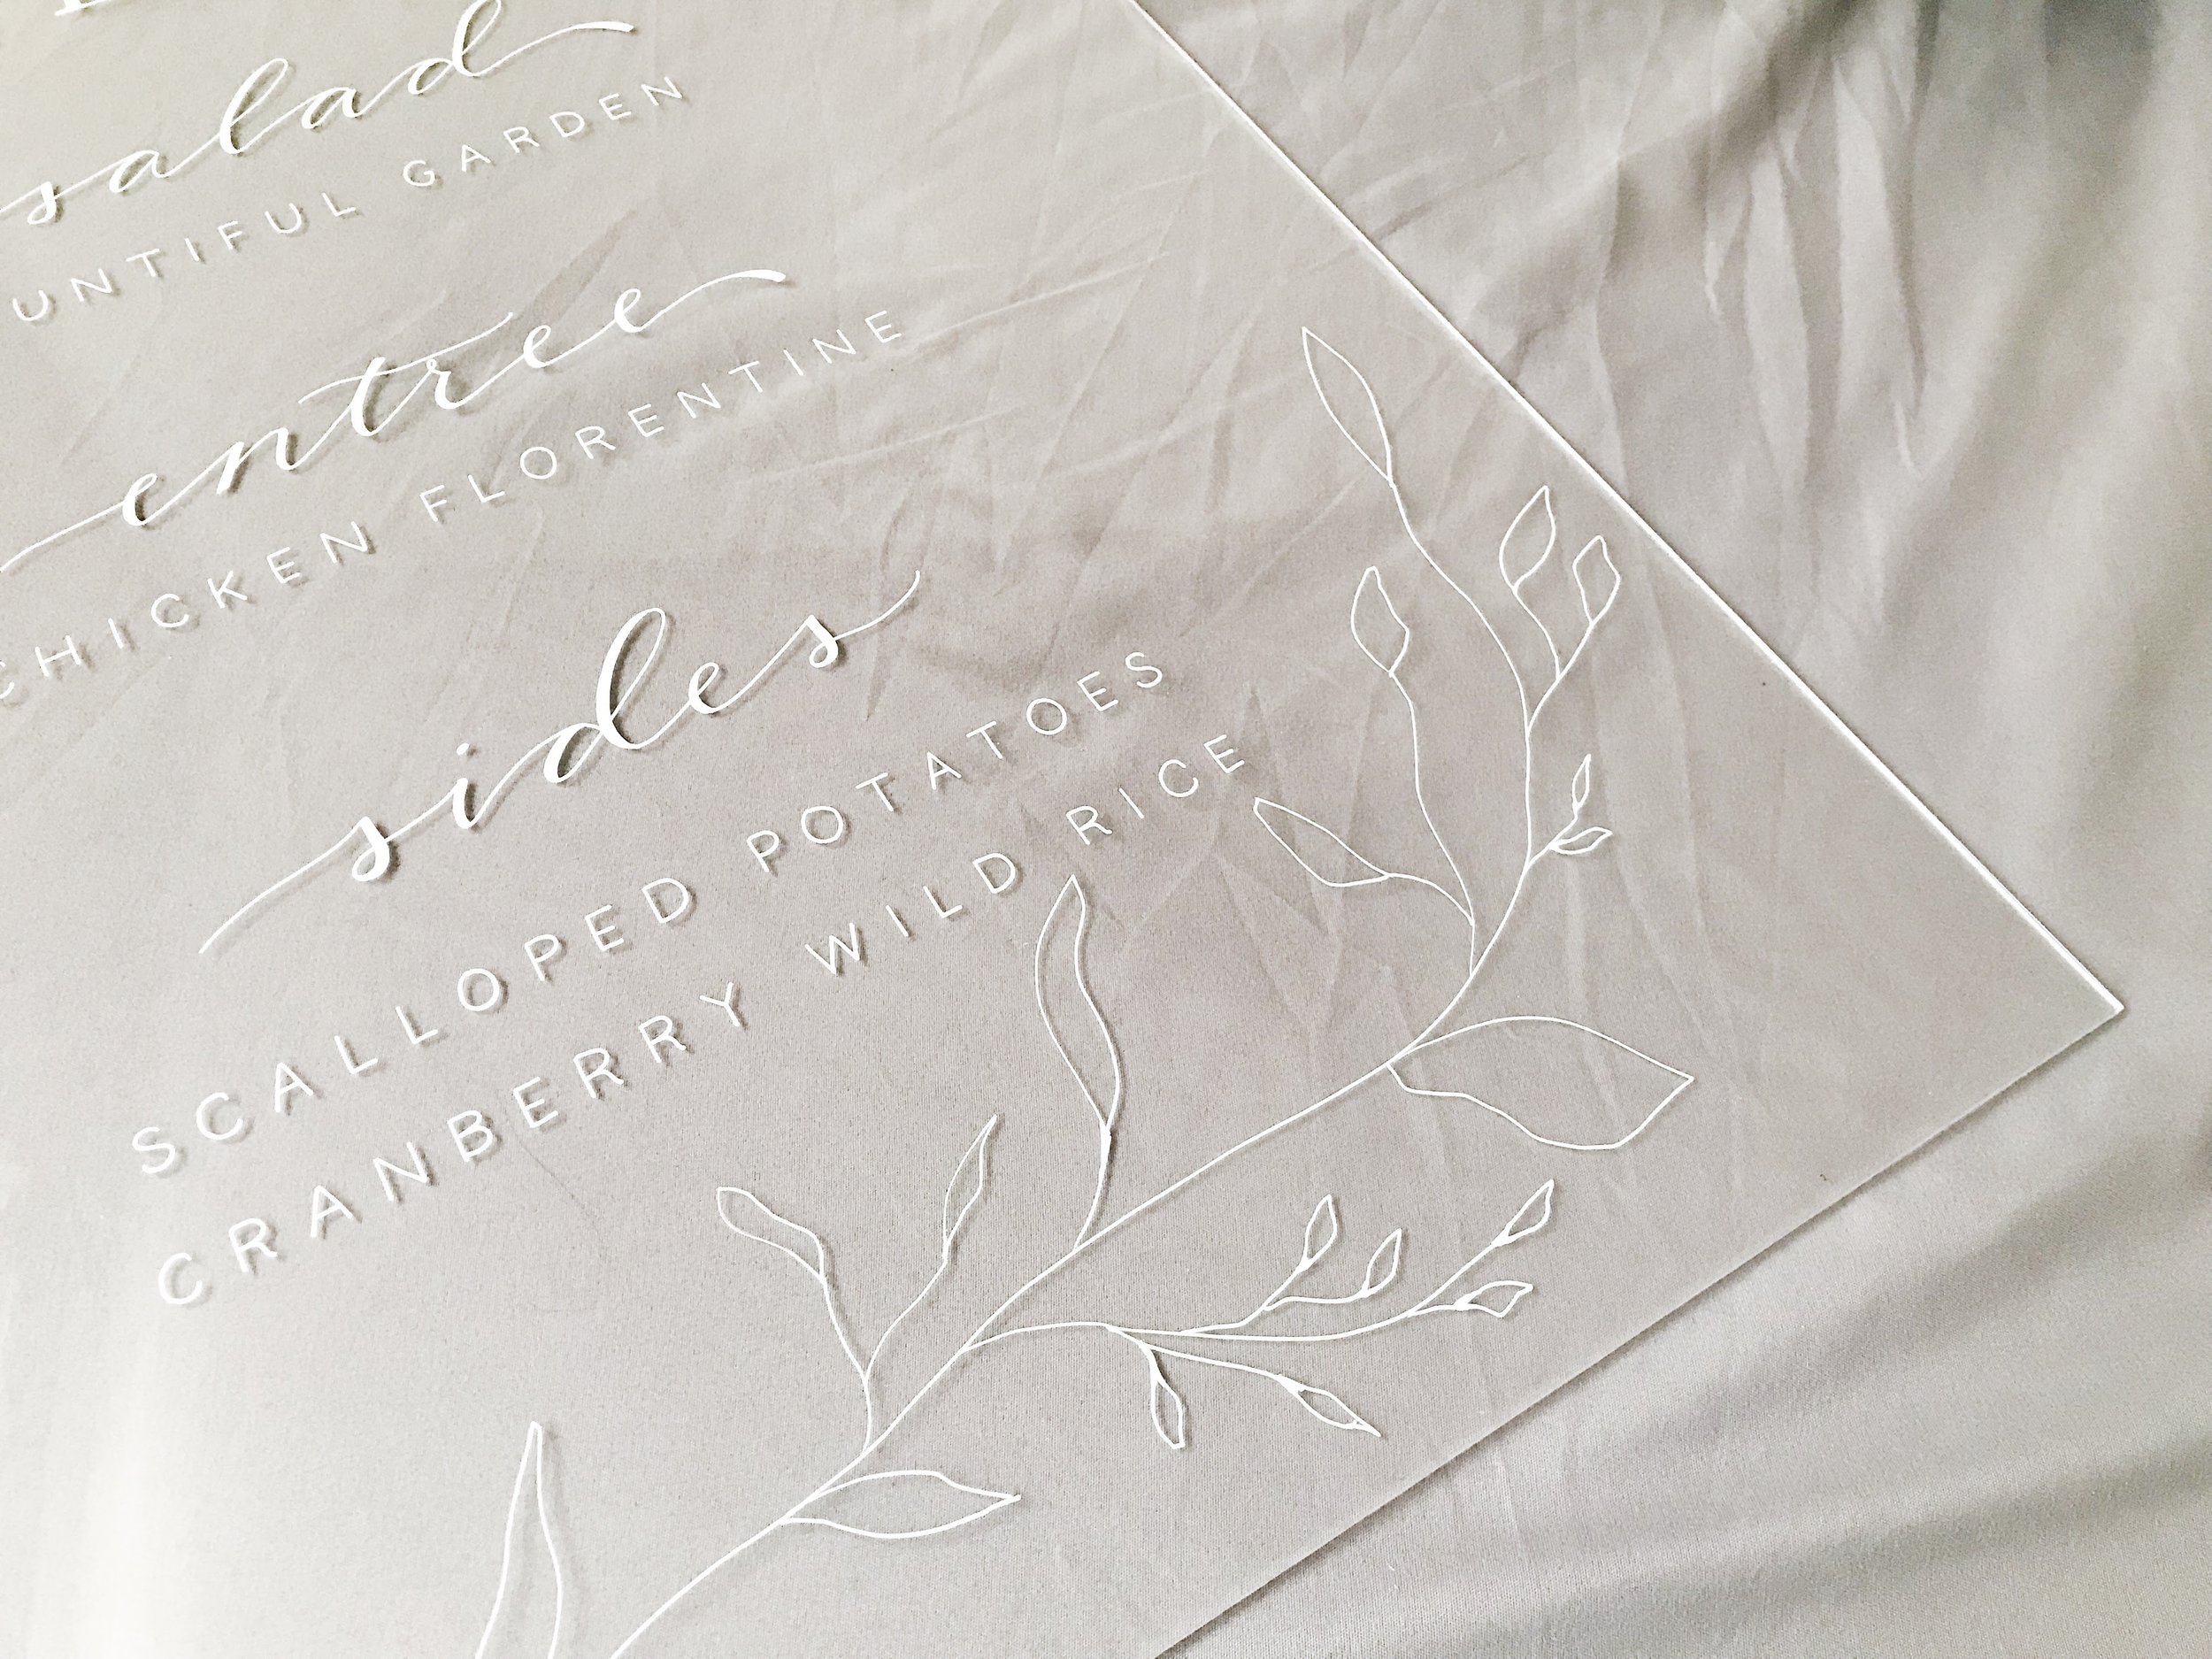
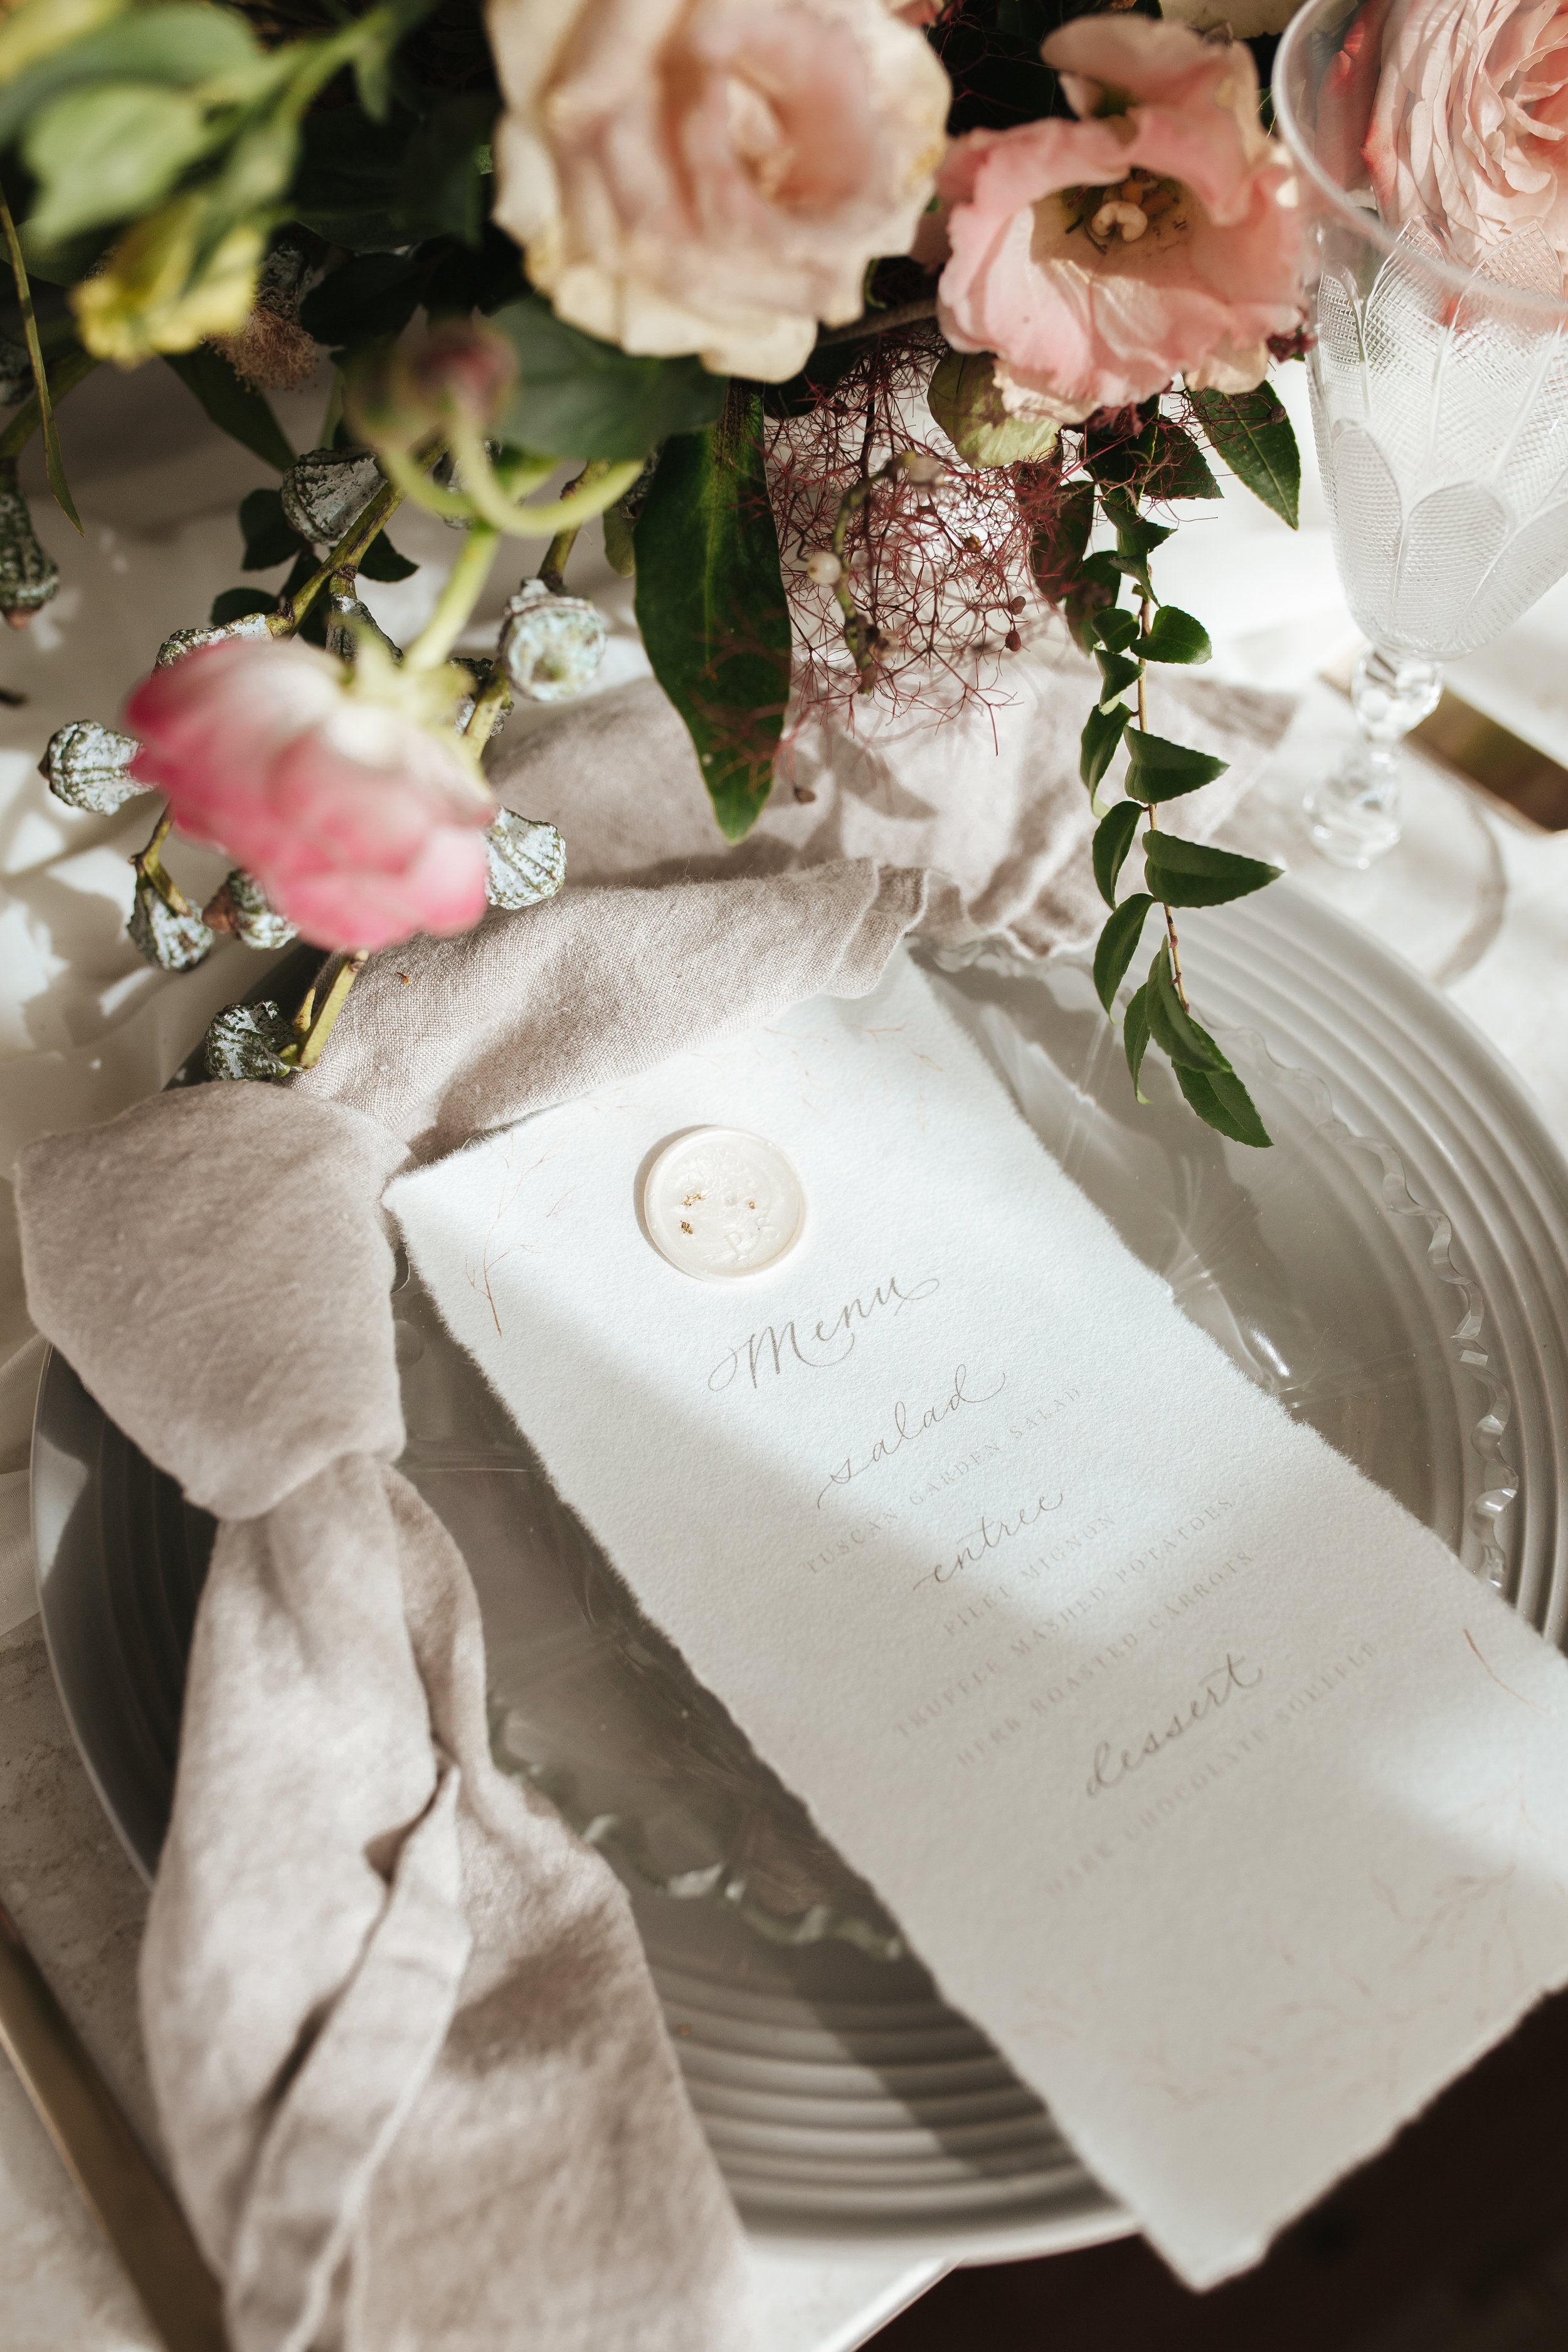
Menu sign for reception or individual menus at each place setting. Drink and dessert signs, as well!
Food labels/descriptors in front of each dish
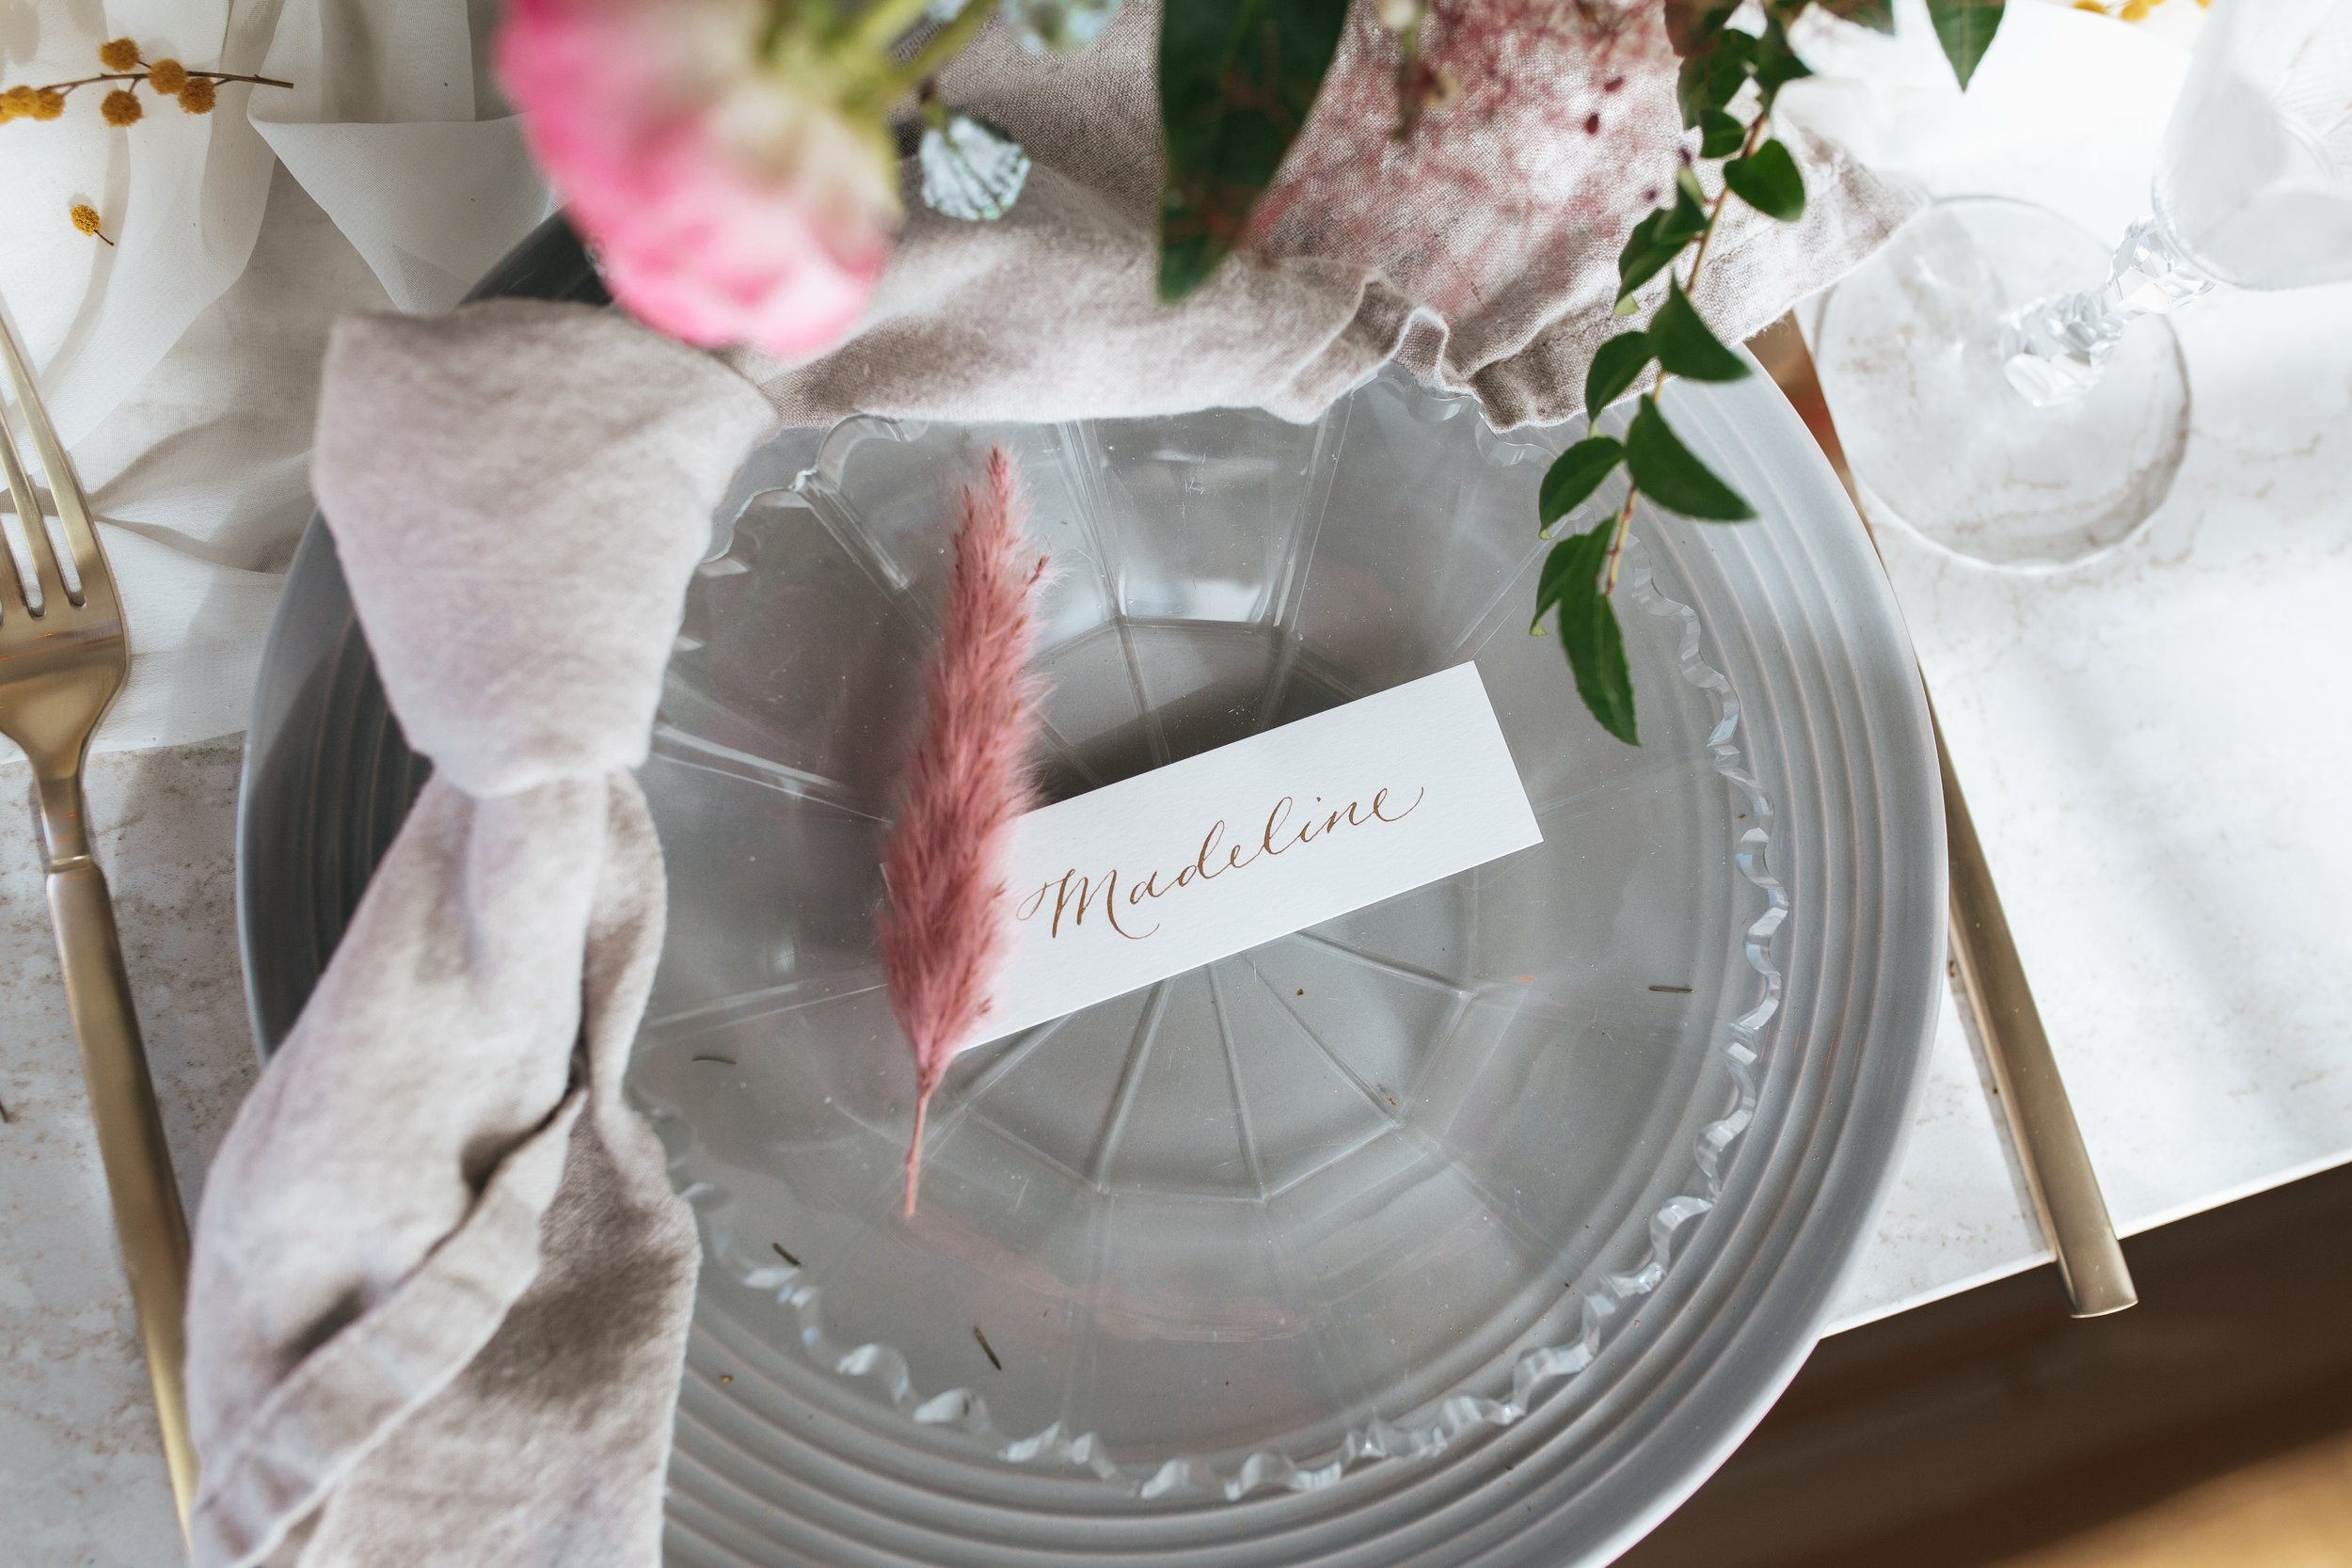
Escort cards
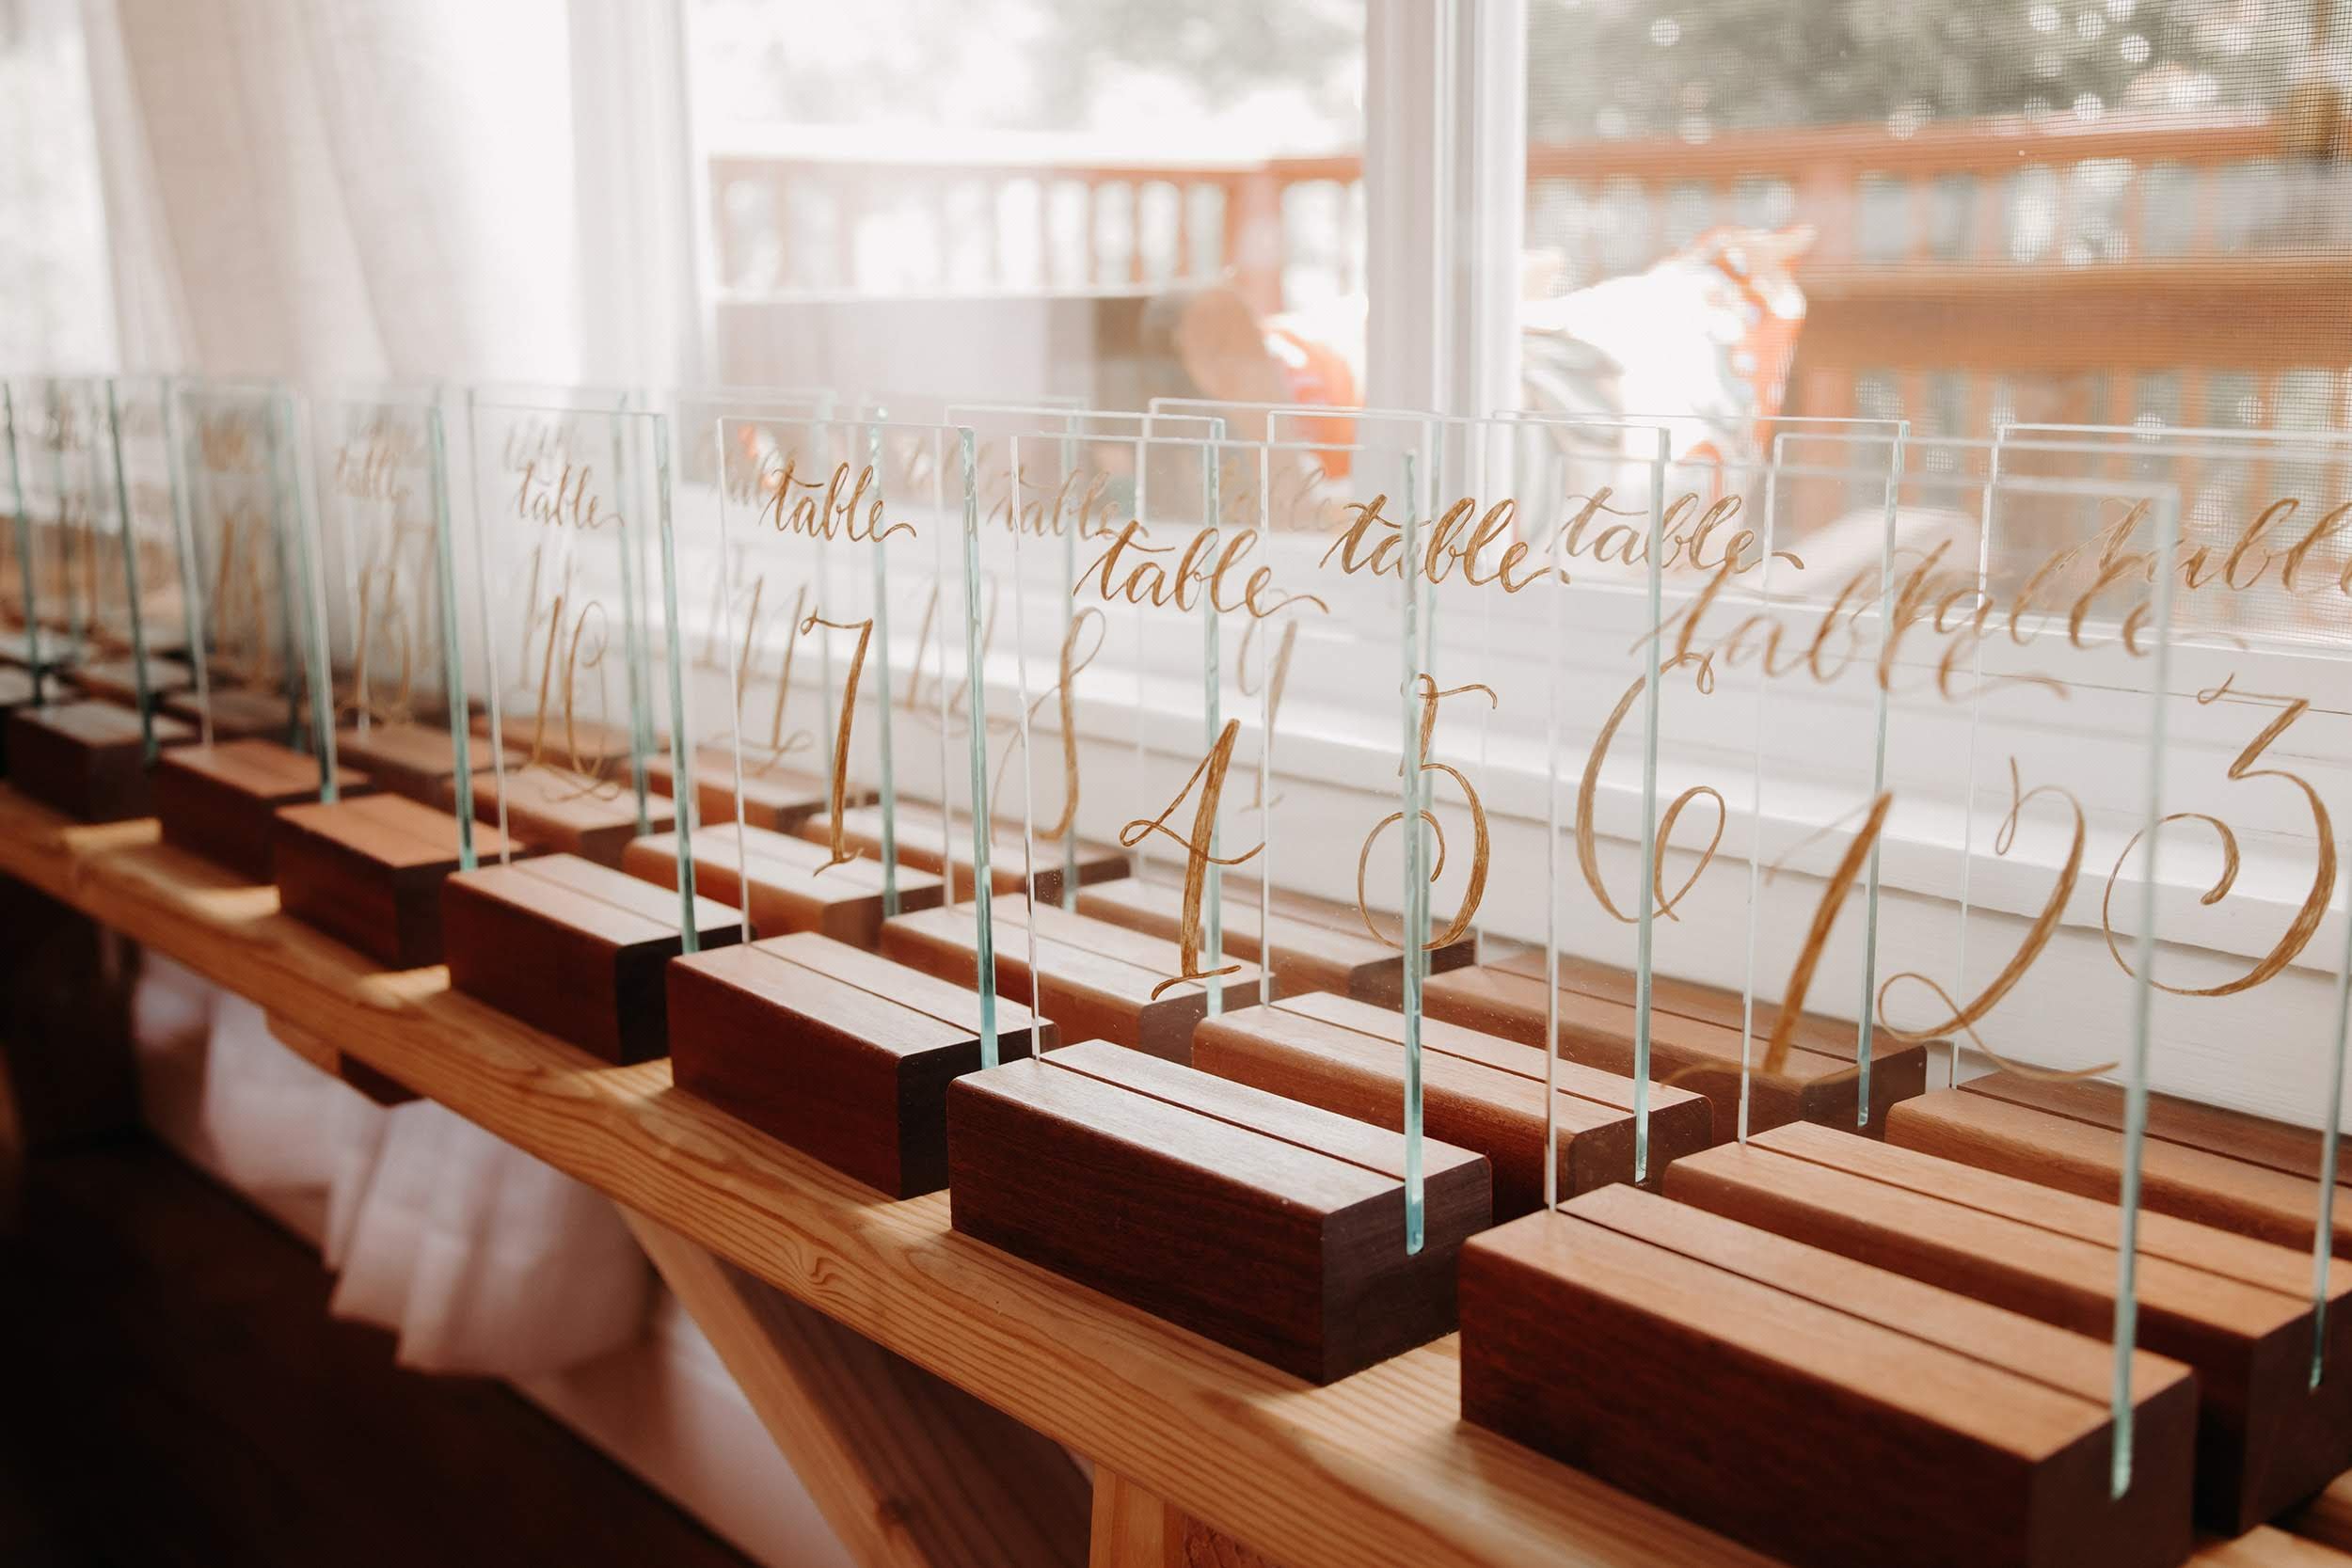
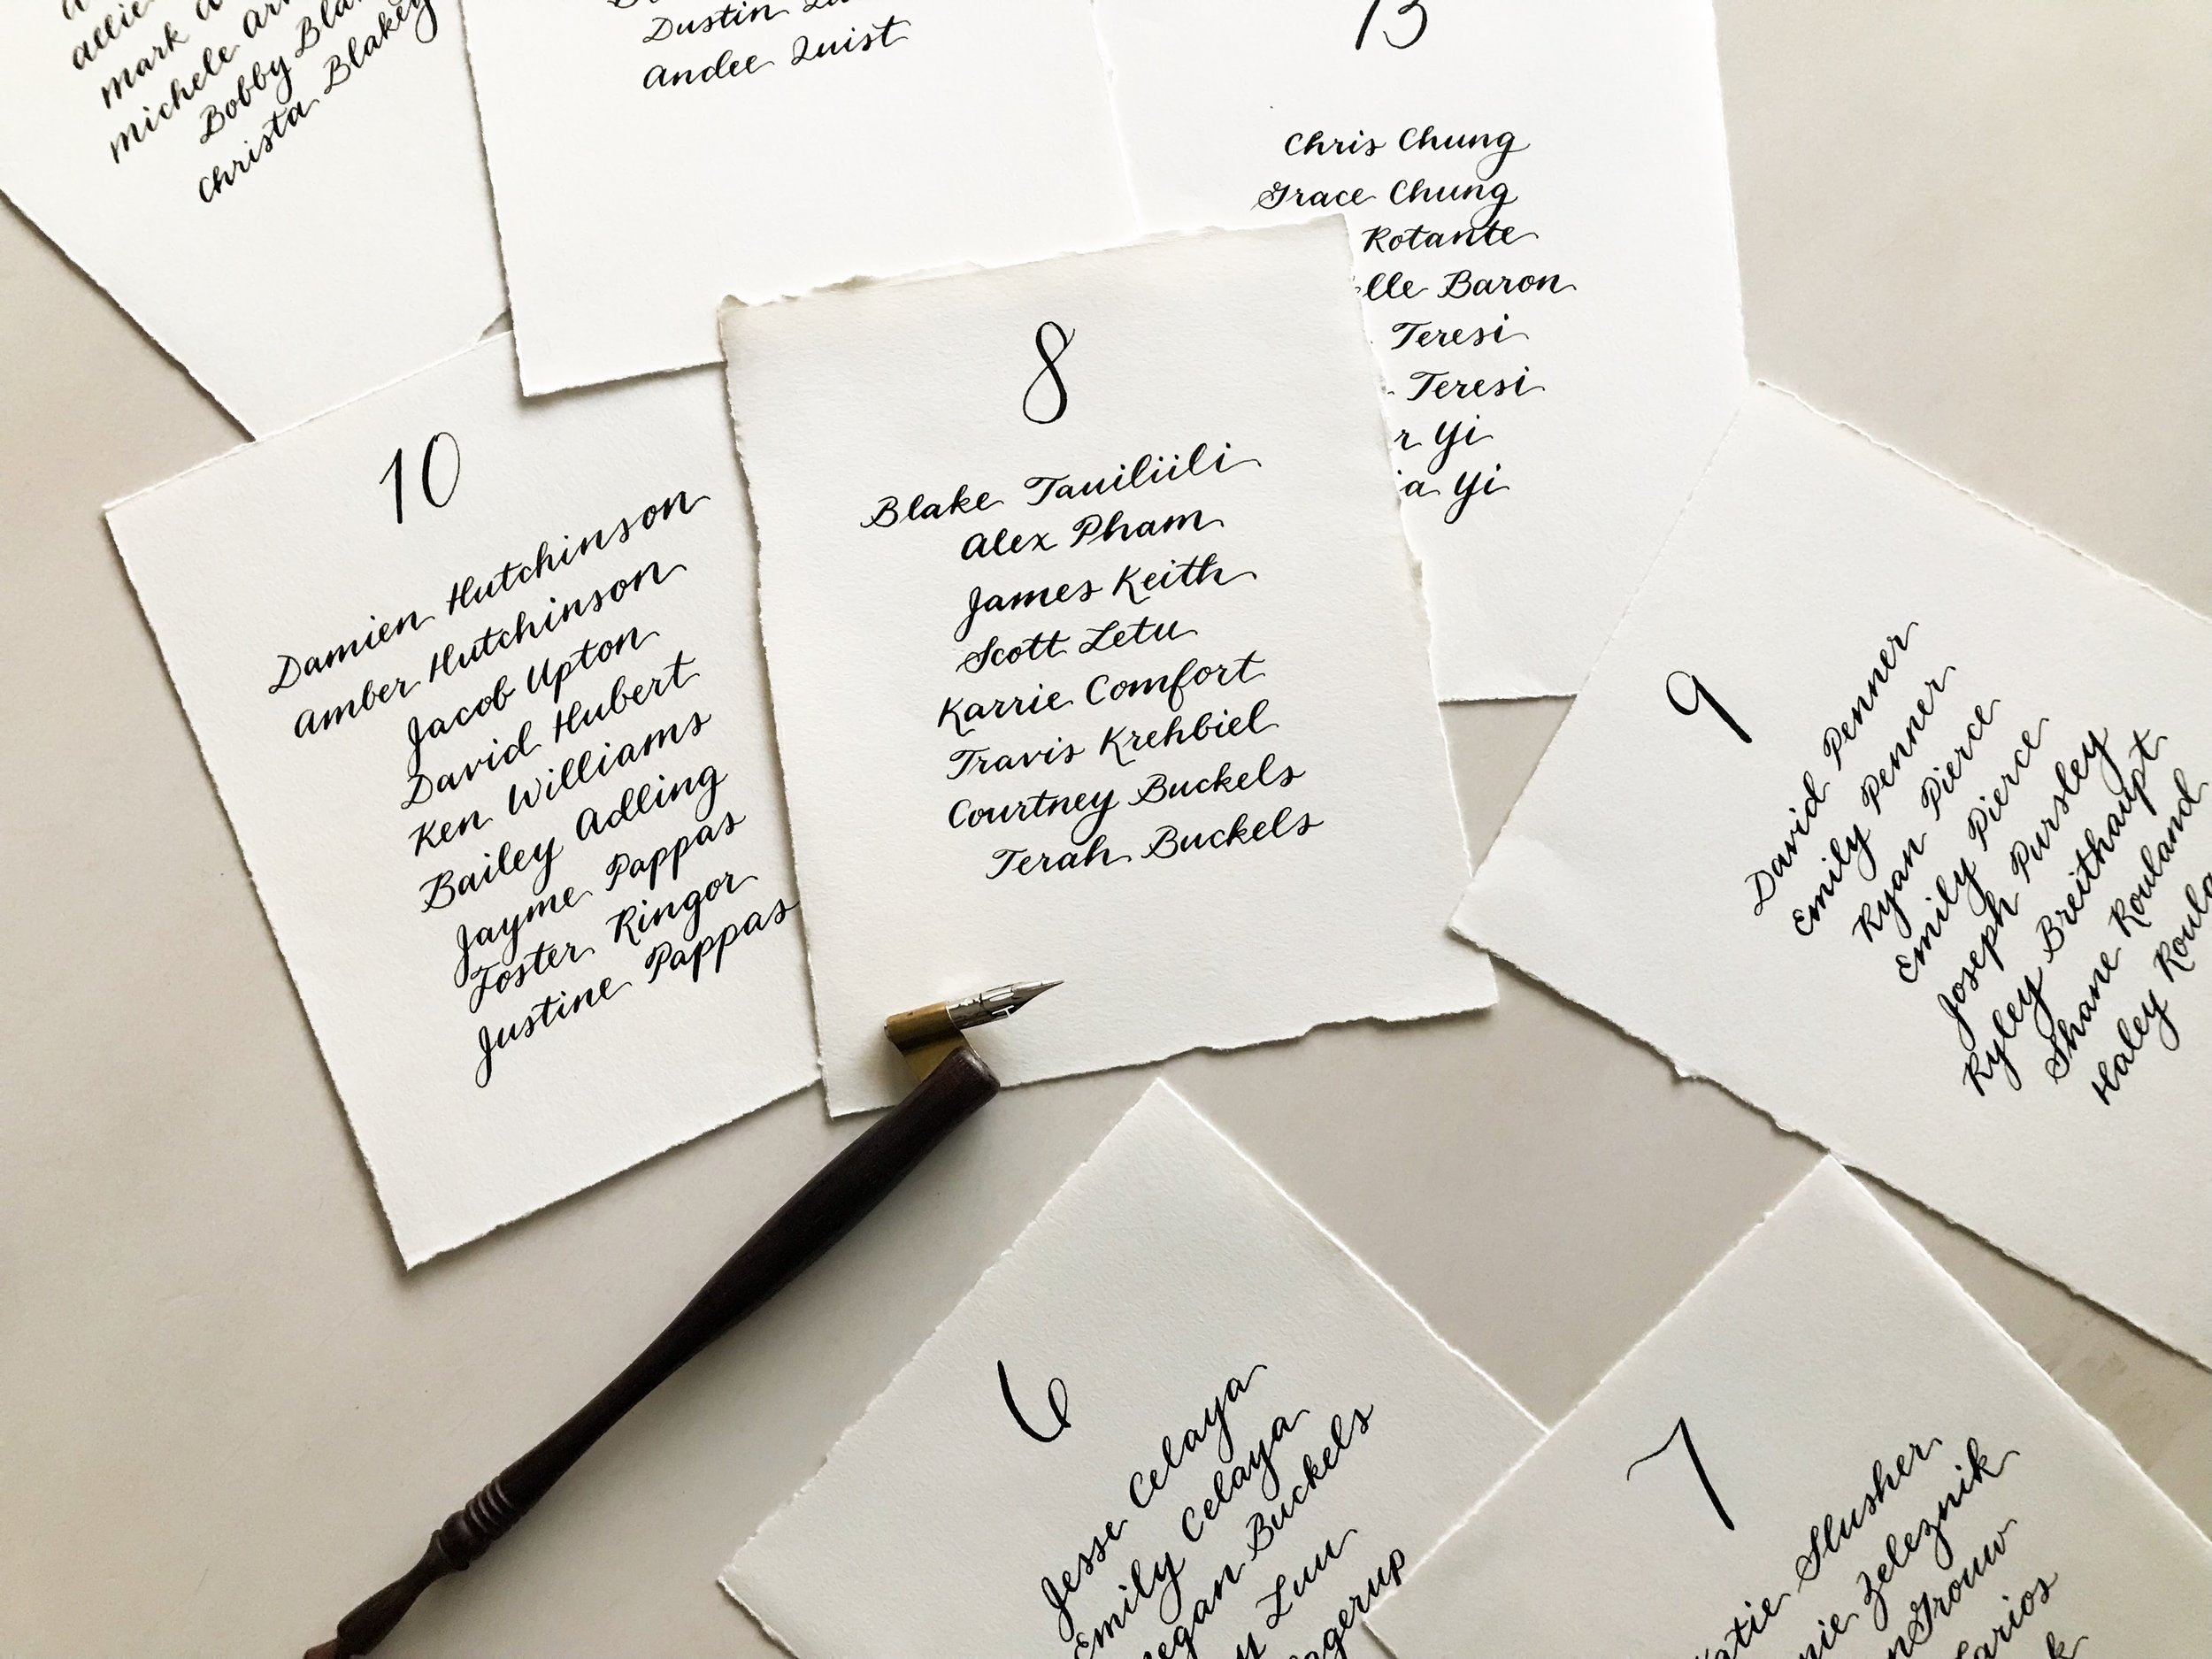
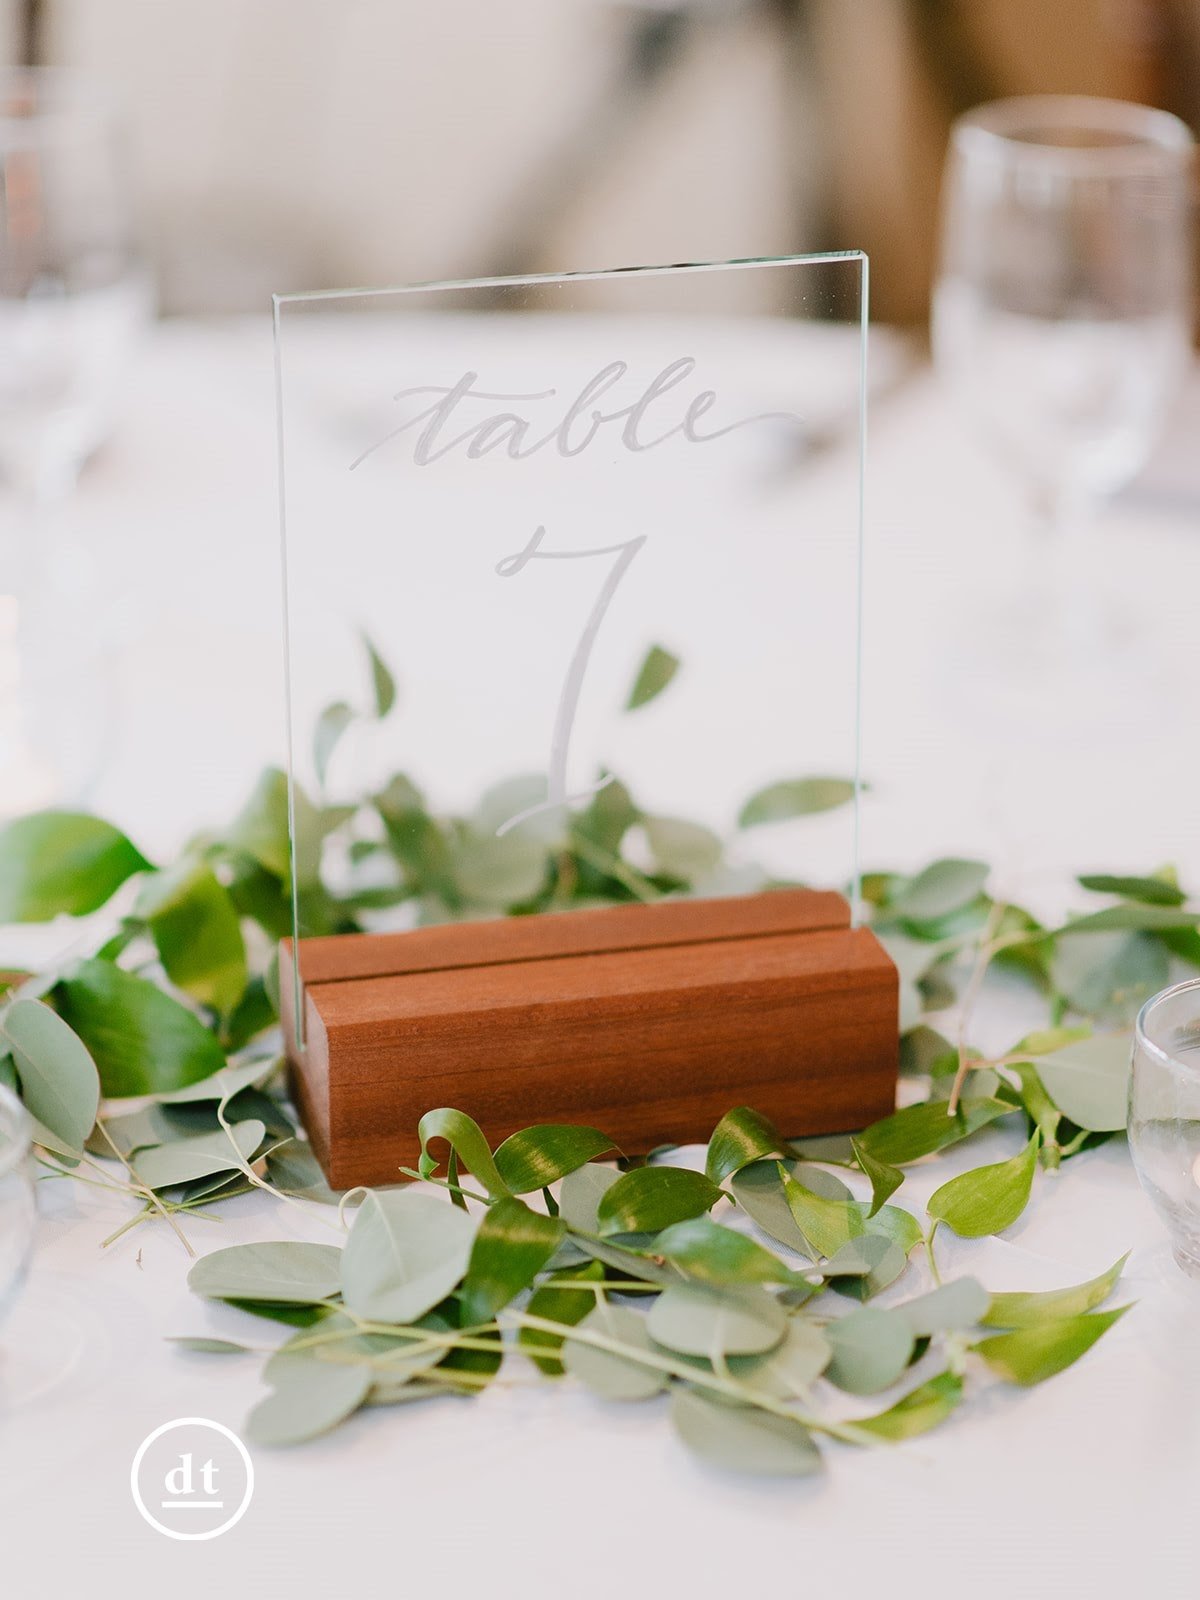
Table numbers
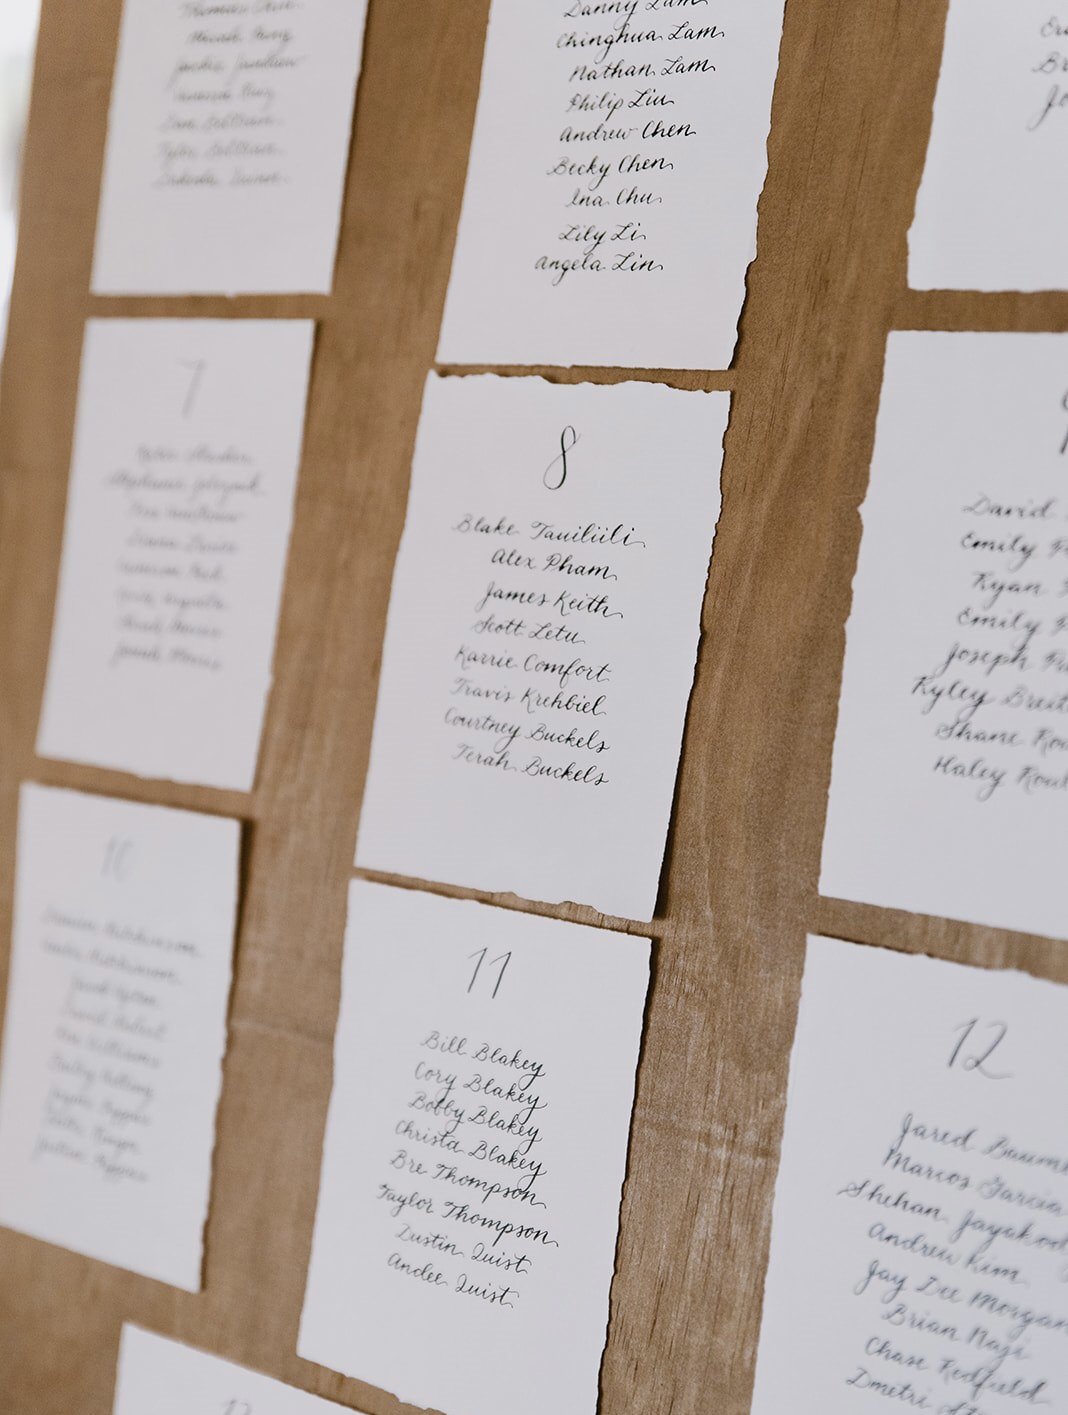
Seating chart
Wedding favor tags
Custom wedding logo details (I once had a bride customize a calligraphy monogram for coffee cup stamps since there was coffee at their wedding. Such a great idea!)
Signs for the sweetheart table (Mr. & Mrs., etc.)
Fabric banner backdrops for filling those blank walls/spots in your venue. You can put a verse, quote, lyric, etc.
Table runner for the sweetheart table with your wedding logo, verse, etc.
Signs on the guestbook table
Photo booth backdrop
Your bridal shower (most of the above can be done at your bridal shower, as well!)

Tips on Creating a Custom Calligraphy Piece
Custom calligraphy pieces can demonstrate a deep thoughtfulness in gift-giving! Read how to create original pieces from start to finish.
Custom calligraphy pieces are some of my most popularly gifted items, and I love how they demonstrate a thoughtfulness in gift-giving! It takes effort and intentionality to decide what your friends/family would like to hang in their home and when you pick something for them that suits them in their seasons of life, etc., the level of care is deeply appreciated. In creating these pieces, I want to emphasize that these are not digital prints; they are original and hand-done. If you’re wanting to try making your own, read on for the process of creating your own calligraphy piece.
1. Decide what size paper would be most appropriate.
When I receive custom inquiries, one of the first things I always ask (aside from the text, of course), is what size they are aiming for. Oftentimes, we don’t realize how much text there actually is in proportion to paper size, and if you don’t select a size that is large enough, your text can look crammed in the paper and you easily get lost. A big no-no for me. When choosing paper size, don’t forget to select a standard size that will fit easily into a frame! What a shame it would be if you created a beautiful piece only to realize you now have to order a custom frame size—unless there’s a specific odd spot you are trying to fill in your home. I usually start custom calligraphy orders at 8”x10” or larger.
2. Format your text.
After selecting paper size, I format my text, playing around with what/how many words per line and how far apart I want my lines. I usually do this all on my iPad through Procreate because it is easy to undo with a simple tap of your fingers and manipulate placement. I can also ensure that everything is sized and centered appropriately on the app. I also like to zoom out and take an overall look at a piece to see where I need to balance elements by adding flourishing, etc. Procreate seriously makes my life so much easier in this area.
3. Pencil first.
Even though I’ve been doing this for a while now, I am still a perfectionist and pencil first is my safeguard. I pencil what I have created in Procreate onto the actual paper before grabbing my pen and ink. This allows me to make some final tweaks if need be or to smooth out some lines I maybe didn’t perfect on the iPad. One tip for erasing your lines after: patience. I’ve definitely had moments where I had to toss and restart entire pieces simply because I didn’t wait long enough for the ink to dry. Don’t do it to yourself—you’re almost there!
Good luck on your work! I hope these tips are helpful to you, and if you’re struggling or find it to be too much work, I’m here to do it for you!
-Sincerely,
Sabrina

My Go-To Calligraphy Tools
Essential Calligraphy Tools
The calligraphy world has expanded to include all types of new tools and it might be overwhelming to look at all it and know where to begin. Some are extremely pricey while others are more affordable and I’m here to say that the more expensive does not always mean that it will necessarily produce better results! While calligraphy tools are important, the key is really your own skill developed from practice.
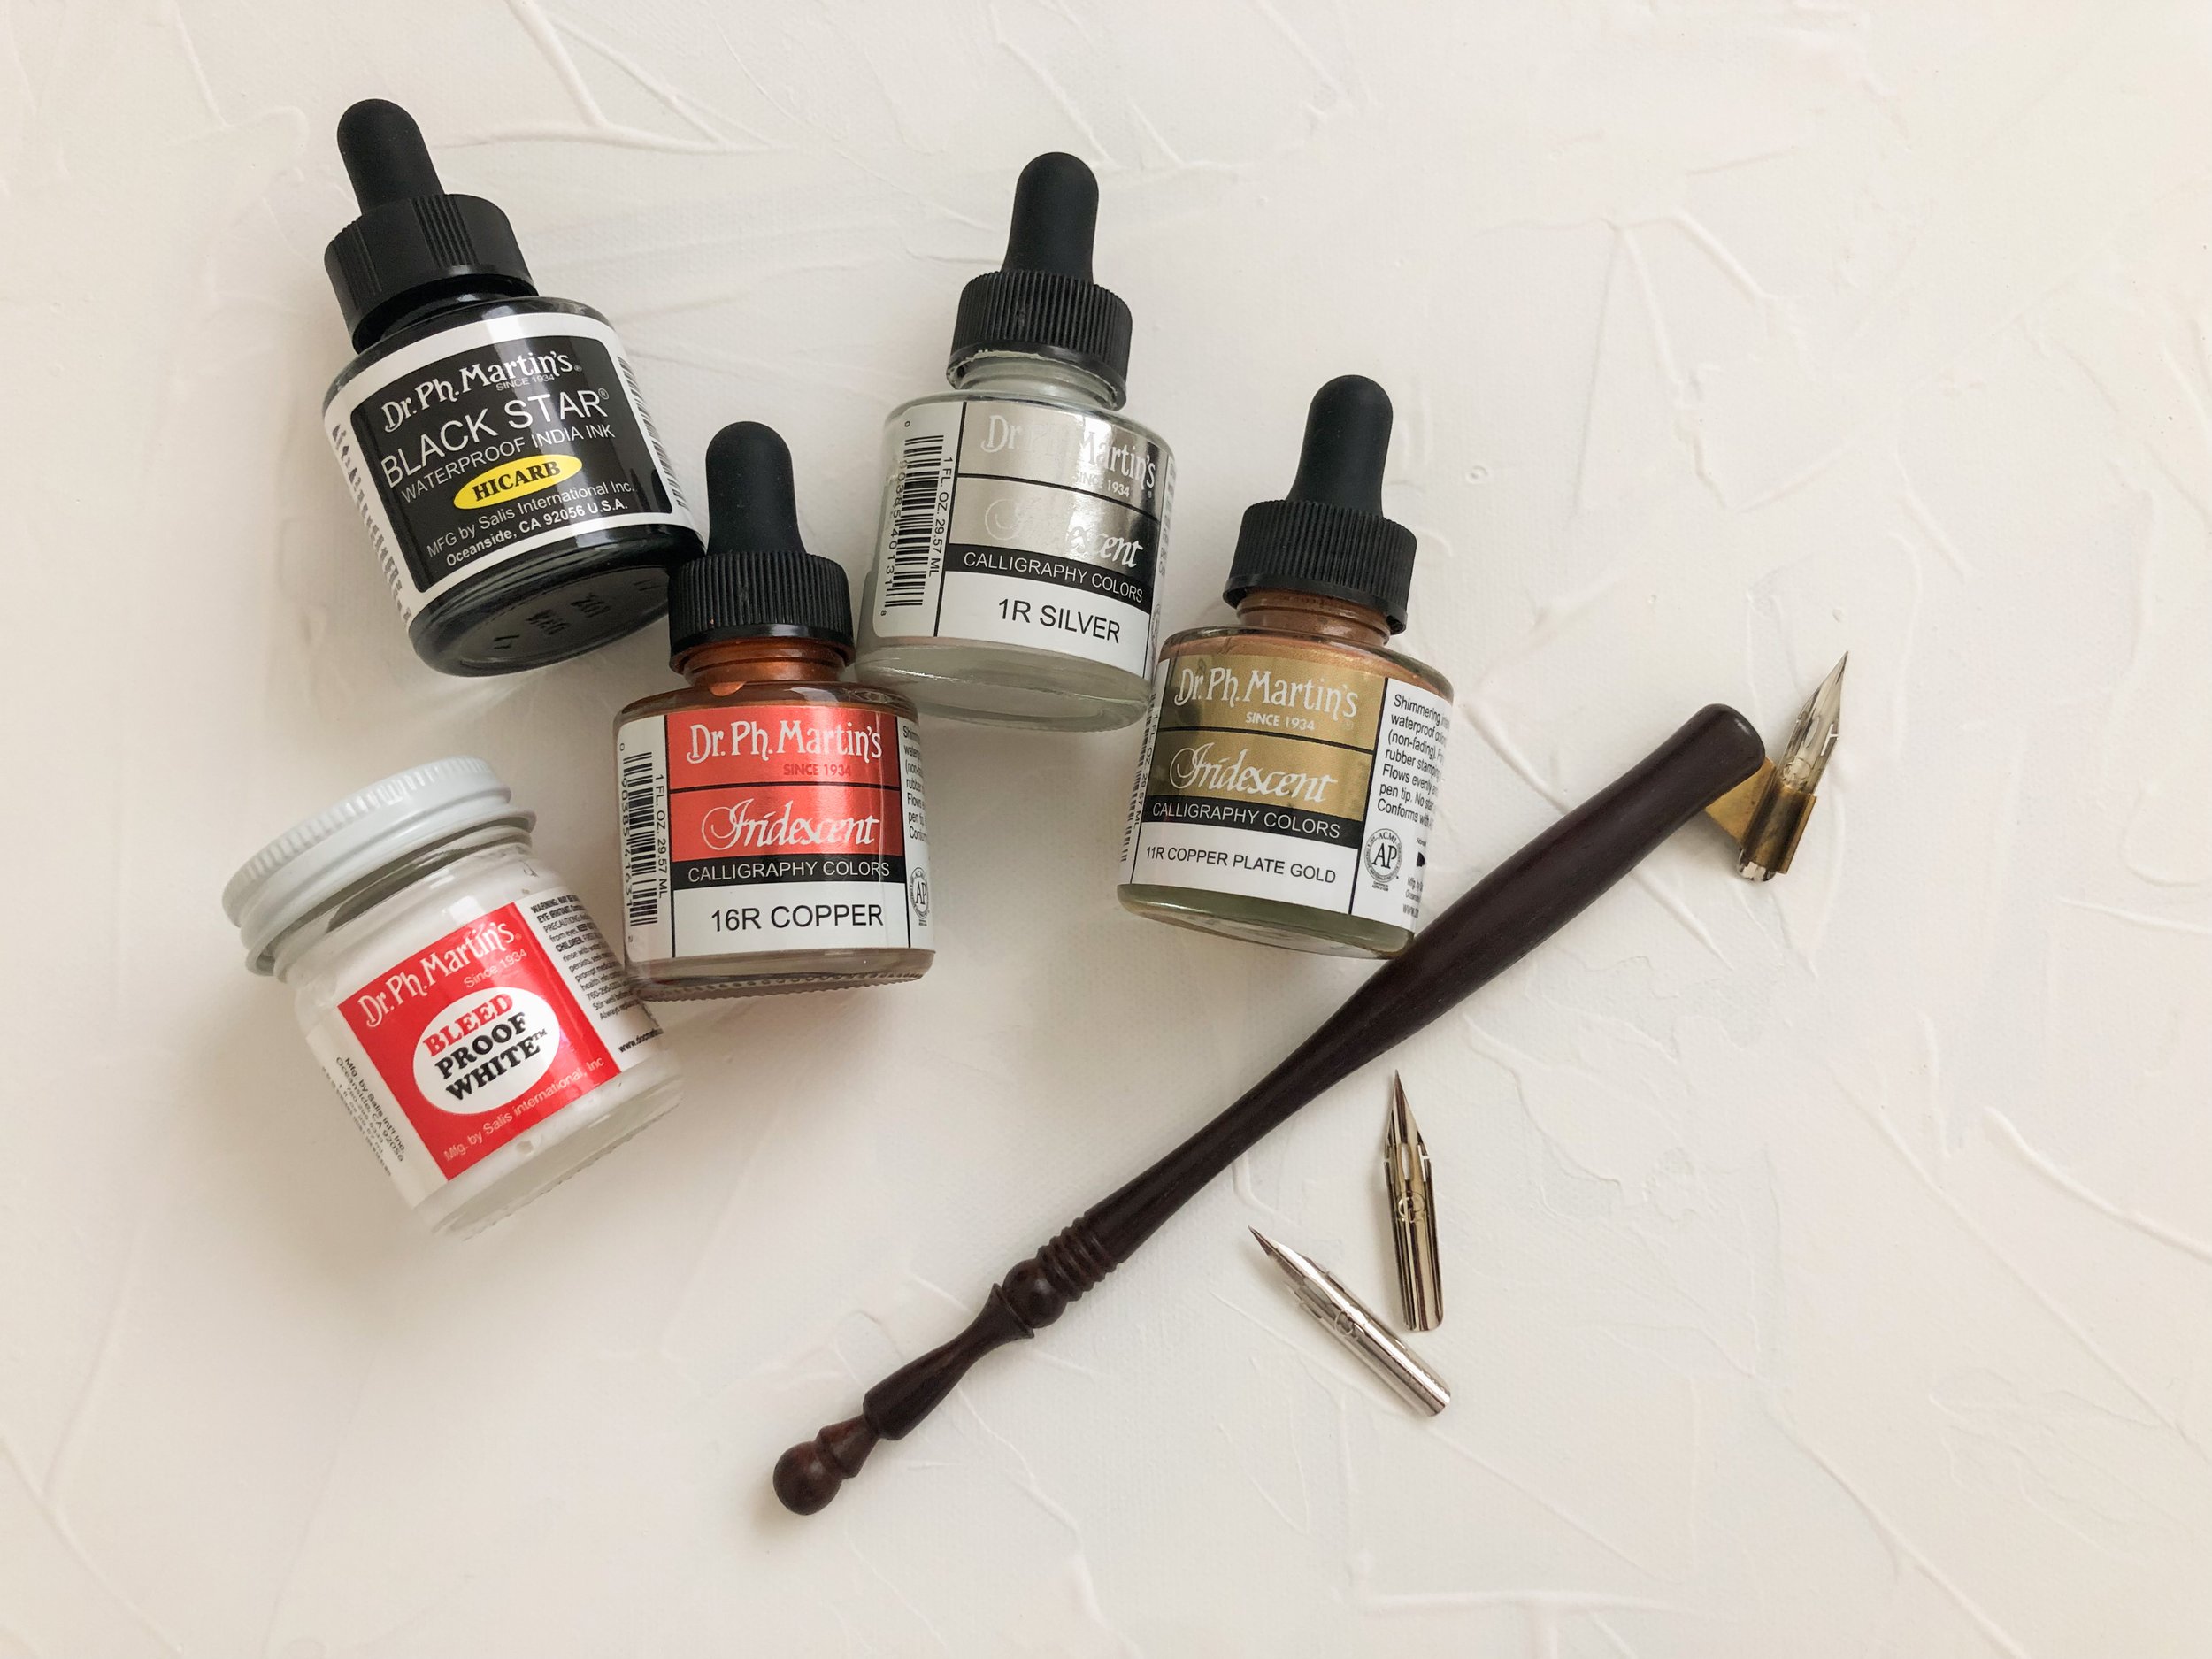
Oblique Pen Holder - Calligraphy pens can either be straight or oblique. I started off using straight pens, but then discovered that oblique pens gave me a more angled and relaxed look which suited my style better. I have found that it is also much easier to work with. These can range anywhere from $8 to $150 depending on how fancy you would like yours to look. Some are more ergonomic than others, but they all function the same.
Nikko G Nib - I buy these in packs on Amazon and one nib lasts me for what seems like forever before I decide it’s time to replace it. A tip for new nibs: use rubbing alcohol or acetone to wipe them down before dipping into your ink. If you don’t, you will notice that the ink seems to “run off” your nib and not hold in the well of your nib. I almost think of the wiping process as taking off some slippery coating on new nibs. Rubbing alcohol and acetone can also be used to clean your nib after each project use.
Dr. Ph. Martin’s Calligraphy Ink - I love these inks. They’re easily accessible on Amazon or you can buy them at your local hobby store. They come with a dropper which I actually just drop straight onto my nib, so I don’t use any fancy inkwell or anything to dip my pens into. Less waste of ink, too! Just make sure you give your ink a good shake before beginning your project, especially if you are using any of the metallic inks.
So if you’re looking to try out calligraphy on your own, these are the three basic tools you will need. Remember: you don’t need to spend a ton on supplies. Invest yourself in practicing instead!
Best of luck,
Sabrina